Creating a Blog with Hugo and AWS Amplify
This post is a Walkthrough Guide of how I’ve created this Blog using Hugo and AWS Amplify.
I’m not a Developer by trade and therefore when determining on what to use for the Blog Software I had the following high-level requirements:
- Simple to Setup & Configure
- Easy to Use & Maintain on an ongoing Basis
- Cost Effective
After reviewing a number of different options following a few hours of reading on Google, I settled on Hugo. What is Hugo, you may ask? Well in short, it’s a static site generator. It allows you to create files in markdown format and using some magic it converts it into HTML.
The other thing that I also had little to no experience with, was also AWS Amplify. I’d come across it a few times on Client Engagements in the past but not needed to know much about it other than how it’s being used within their Solution. Reading the homepage for AWS Amplify it stated “Build, deploy, and host static websites, single-page web apps, and server-side rendered apps in just a few clicks.”. This appeared to hit all the my high-level requirements on the head from the outset in conjunction with Hugo so I got started.
Lets Get Started with Hugo
These instructions are based on using a Windows device, therefore some of the steps may not be applicable if you are using another Operating System.
- Install Chocolatey by following the instructions here.
- Download the Windows Installer for Go from here and run the Installer by accepting all the default settings.
- Download the Windows Installer for GitBash from here and run the Installer by accepting all the default settings.
- Install Hugo from either a Command Prompt or from Powershell:
choco install hugo -confirm
- From the Command Prompt or Powershell navigate to a location where you wish to store a copy of the Site locally e.g.,
C:\Data\. For future purposes, I’ll assume this is the folder where the Site is going to be placed. - Create a New Site. Replace
MyBlogwith the name of you want to call your Site. This can be absolutely anything you want it to be, but for future purpose I’ll assume the Site is namedMyBlog.
hugo new site MyBlog
- Change Directory to the
MyBlogDirectory.
cd MyBlog
- Create an empty Git repository.
git init
- We now need to choose a theme to use with Hugo. I chose one from Jamstack Themes, specifically Bilberry Hugo. Once chosen, we add the theme as a Git Submodule.
git submodule add https://github.com/Lednerb/bilberry-hugo-theme.git themes/bilberry-hugo-theme
- The theme that you choose may have some additional configuration steps required. In the case of the theme that I’ve used in this example there are some additional steps that are required that are documented on the GitHub Repository. Specifically I needed to do the following:
- Delete the
default.mdfromC:\Data\MyBlog\archetypes. - Copy the
config.tomlfromC:\Data\MyBlog\themes\bilberry-hugo-theme\toC:\Data\MyBlog\.
- Delete the
Most of the Site configuration is handled within config.toml. I won’t go into the details of the specific settings within it as it’ll be different for every person.
- Create a Post.
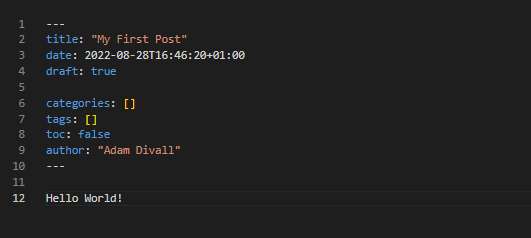
hugo new article/my-first-post.md
- Edit
my-first-post.mdin your IDE of choice. You should find this located inC:\Data\MyBlog\content\article\and put some content in there.
- Run Hugo locally.
hugo server -D
- Open a web browser and view how the content is rendered by navigating to
http://localhost:1313
Configure GitHub and Commit Code
- Login to GitHub within a web browser and create a new repository.
- From the Command Prompt, we now need to add the GitHub repository as an origin. This is done by running the following command:
git remote add origin https://github.com/<UserName>/<RepositoryName>.git
Note: Replace <UserName> and <RepositoryName> using the details specific to your GitHub repository.
- Select the branch that you’re going to associate the current folder with e.g.,
masterand then run the following:
git branch -M master
- We now need to stage the content that we want to push to GitHub, Commit those Changes and then Push the files to the repository. This is done by doing the following:
git add *
git commit -m "Initial Commit to Master"
git push -u origin master
Finally, It’s Time to Setup & Configure AWS Amplify
- Log in to the AWS Management Console and Navigate to AWS Amplify.
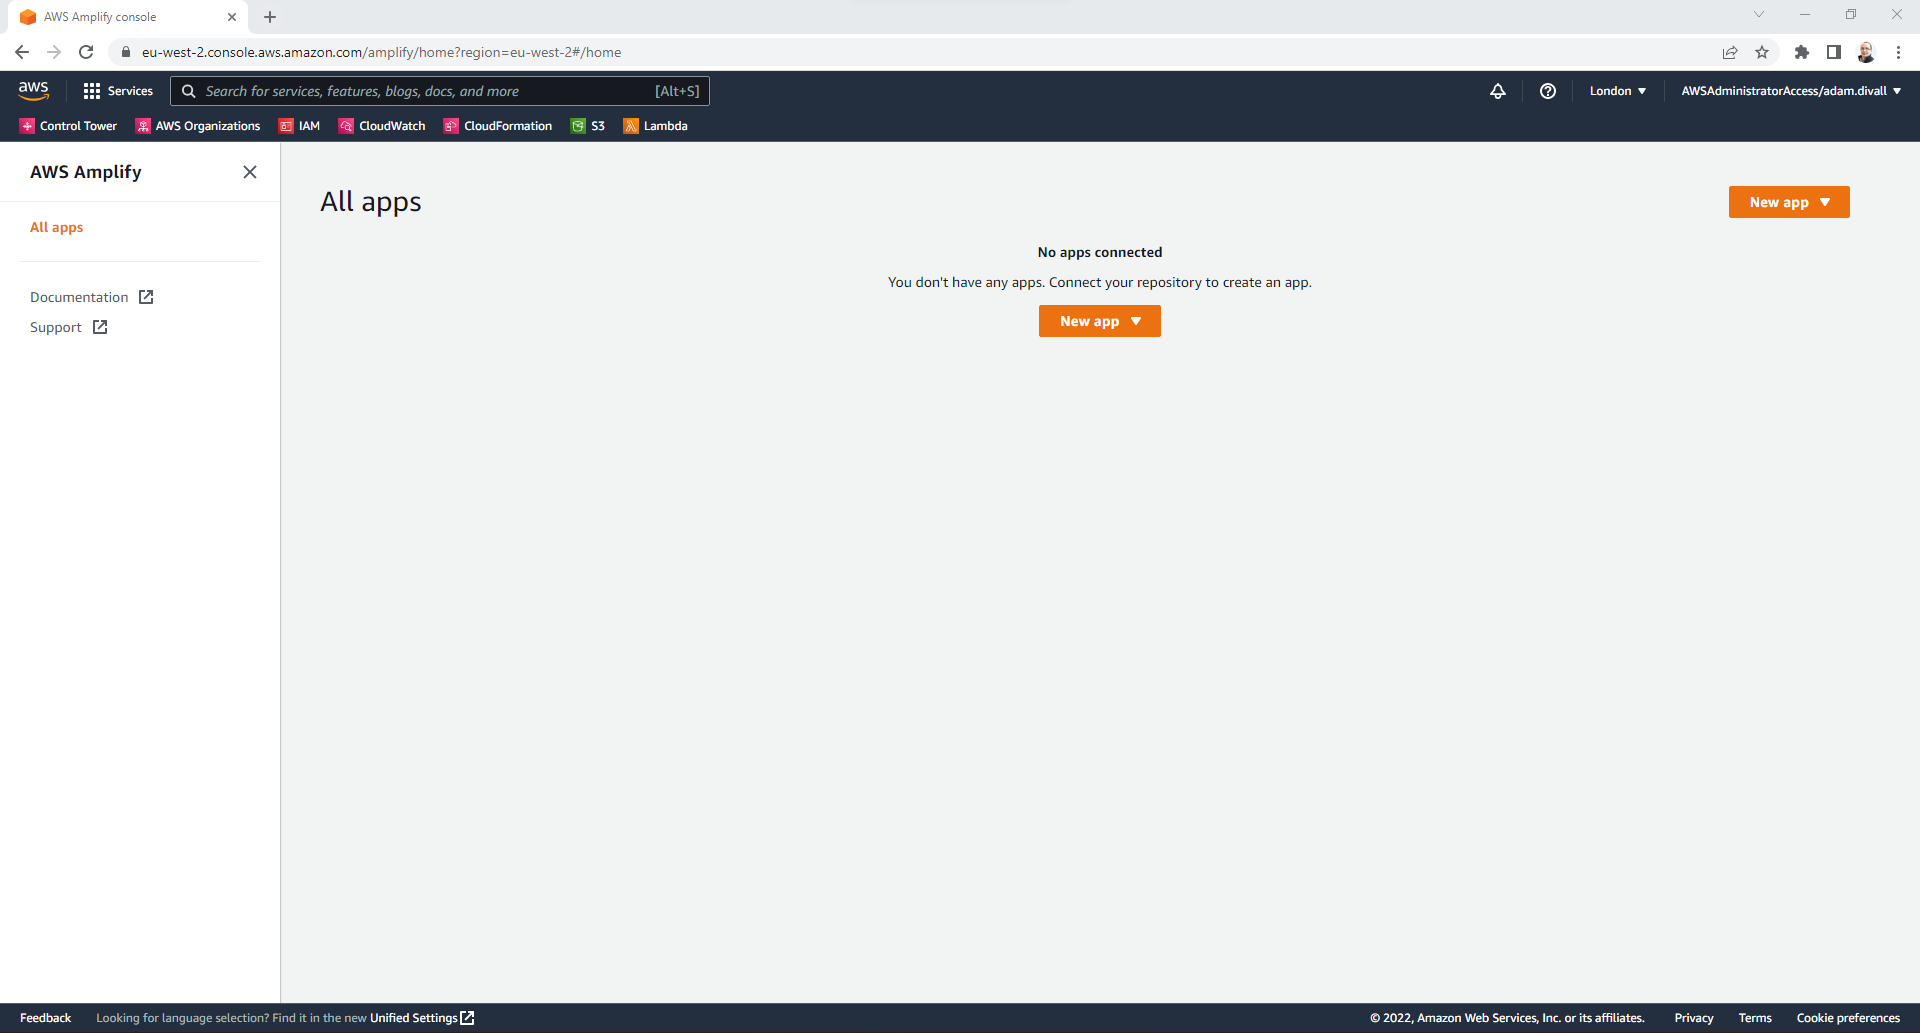
- On the All apps page, Click New App & Select Host web app.
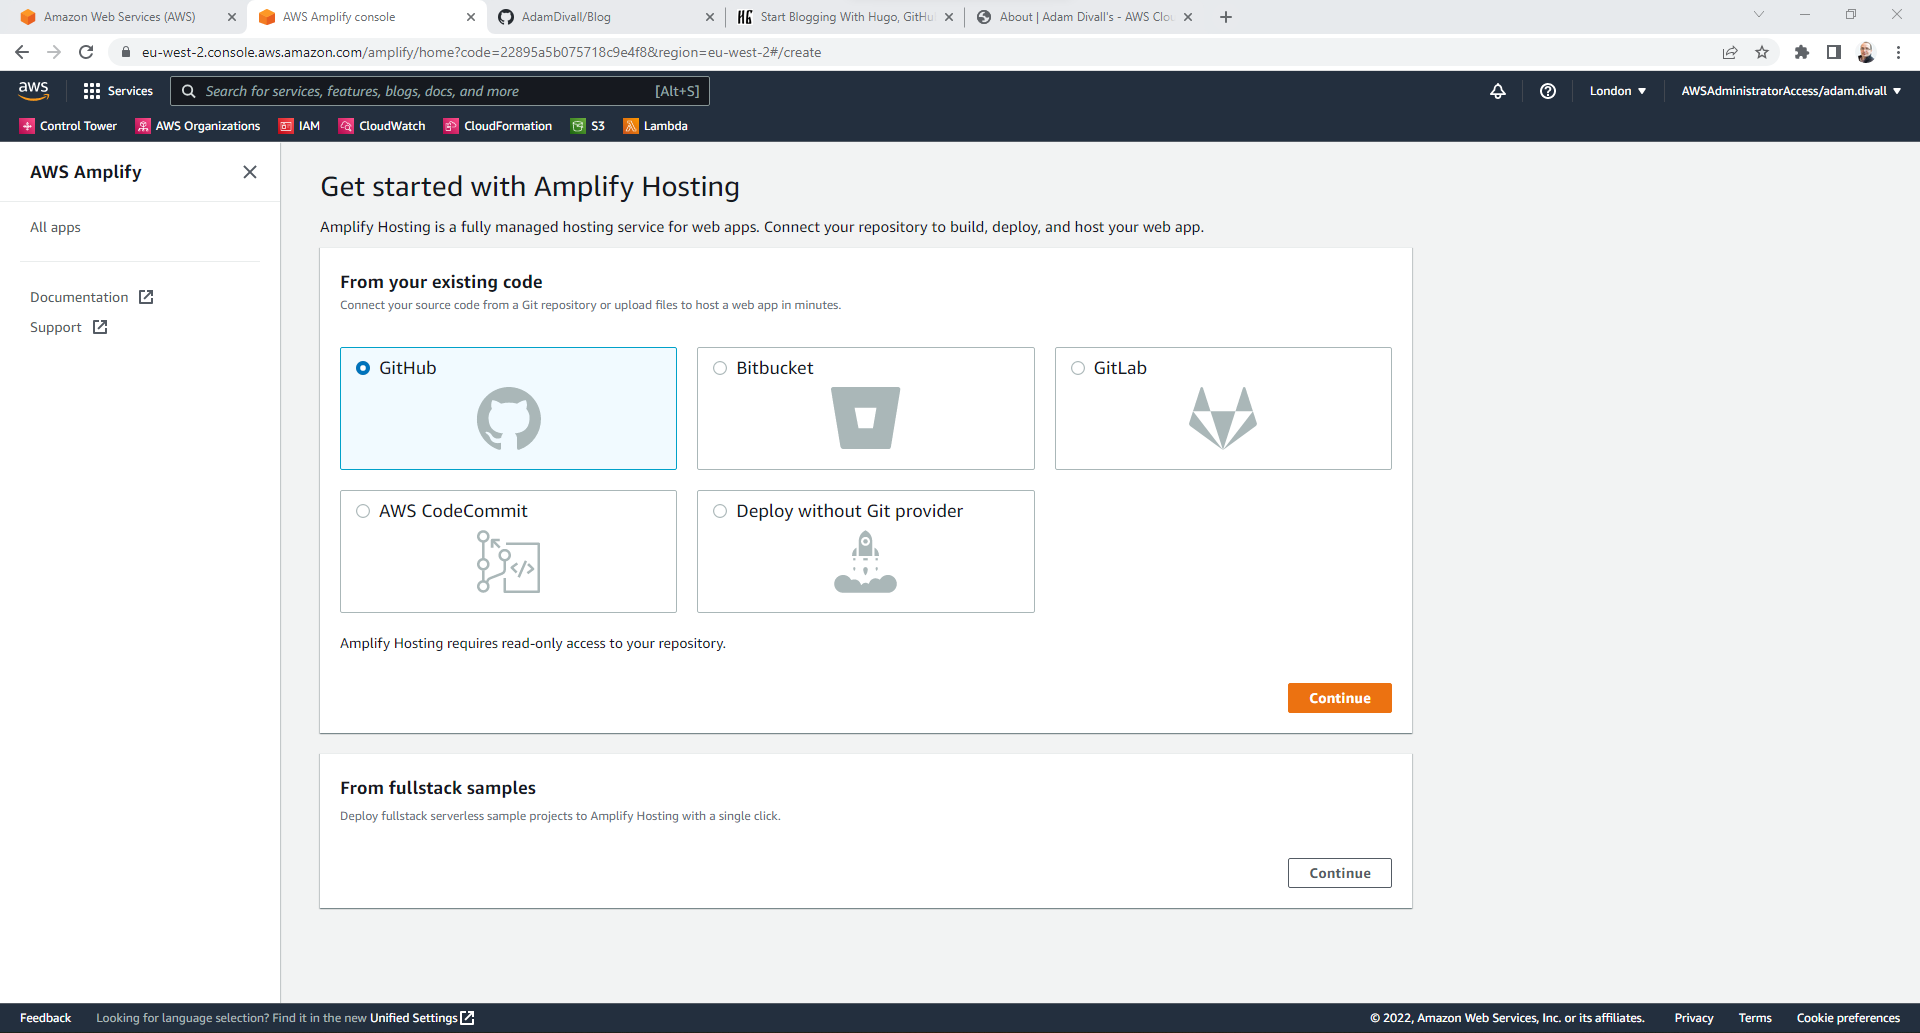
- On the Getting Started with Amplify Hosting page, Select GitHub & Click Continue.
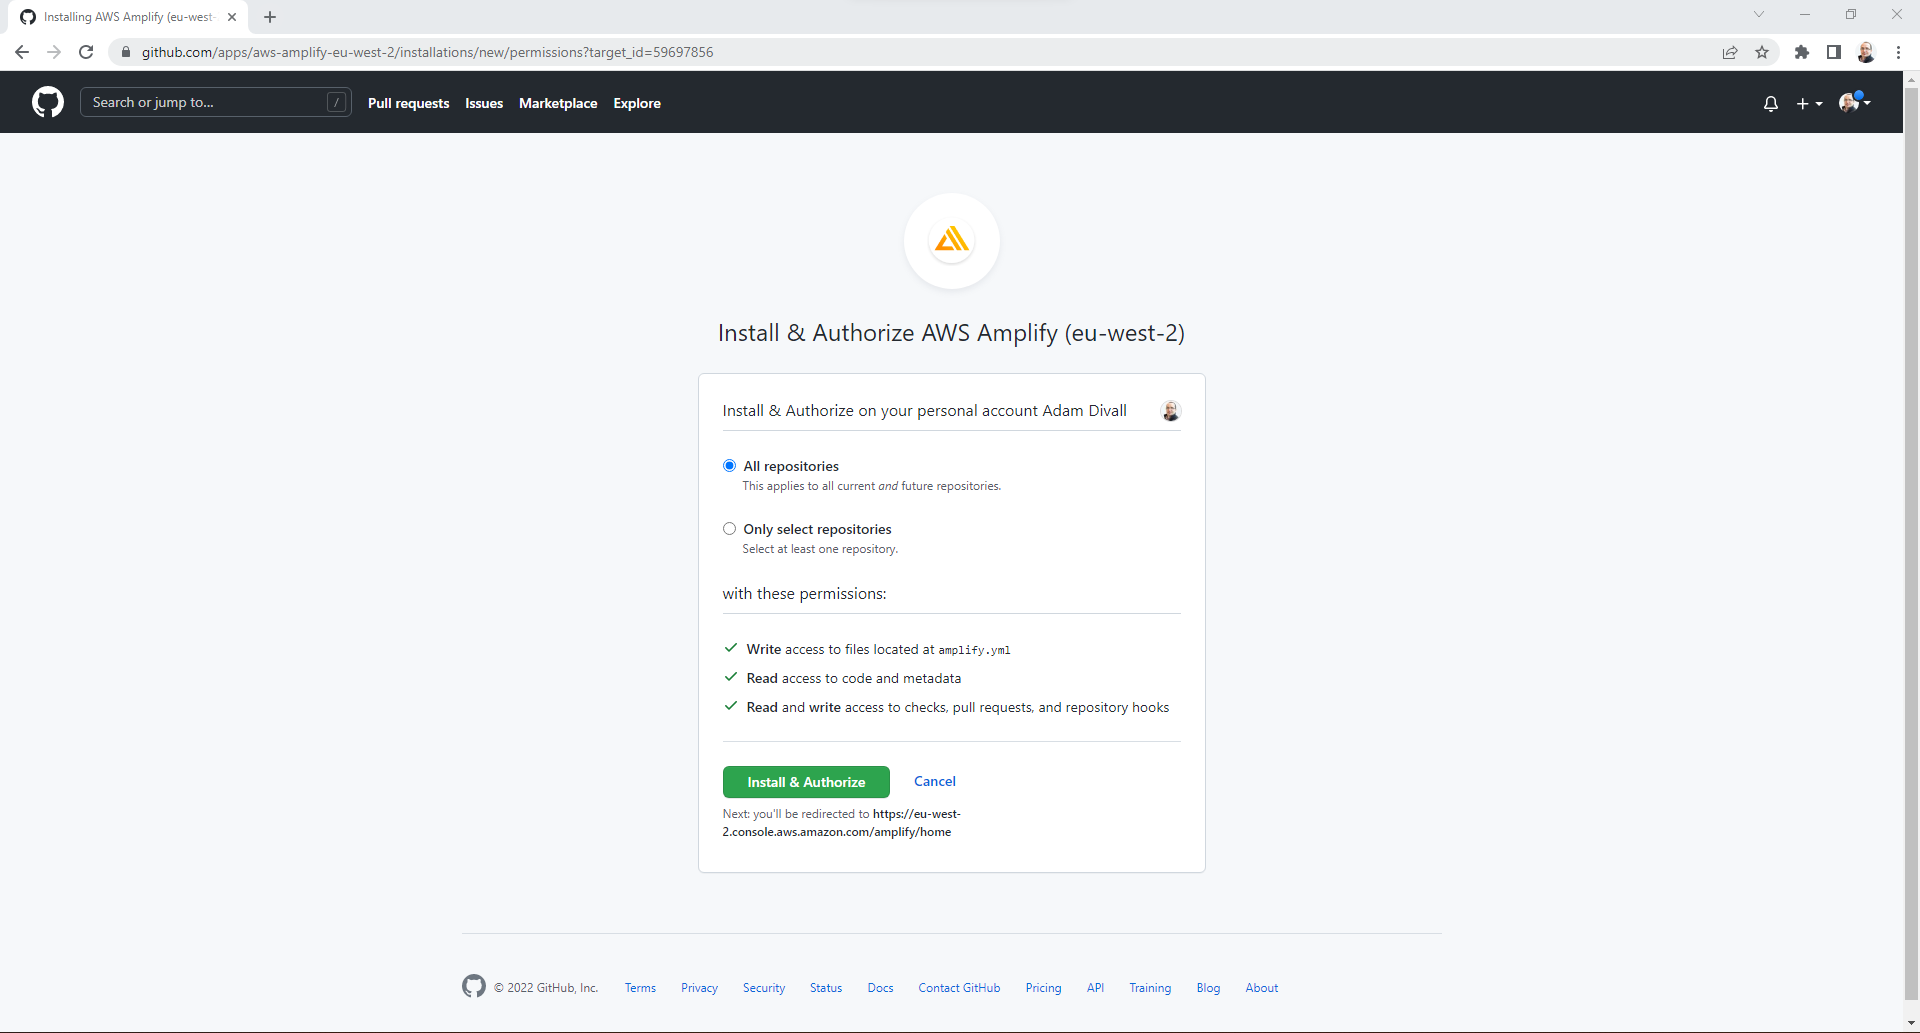
- On the Install & Authorize AWS Amplify page, Choose Only select repositories, and Select the Repositories that you want to provide AWS Amplify with access too and then Click Install & Authorize.
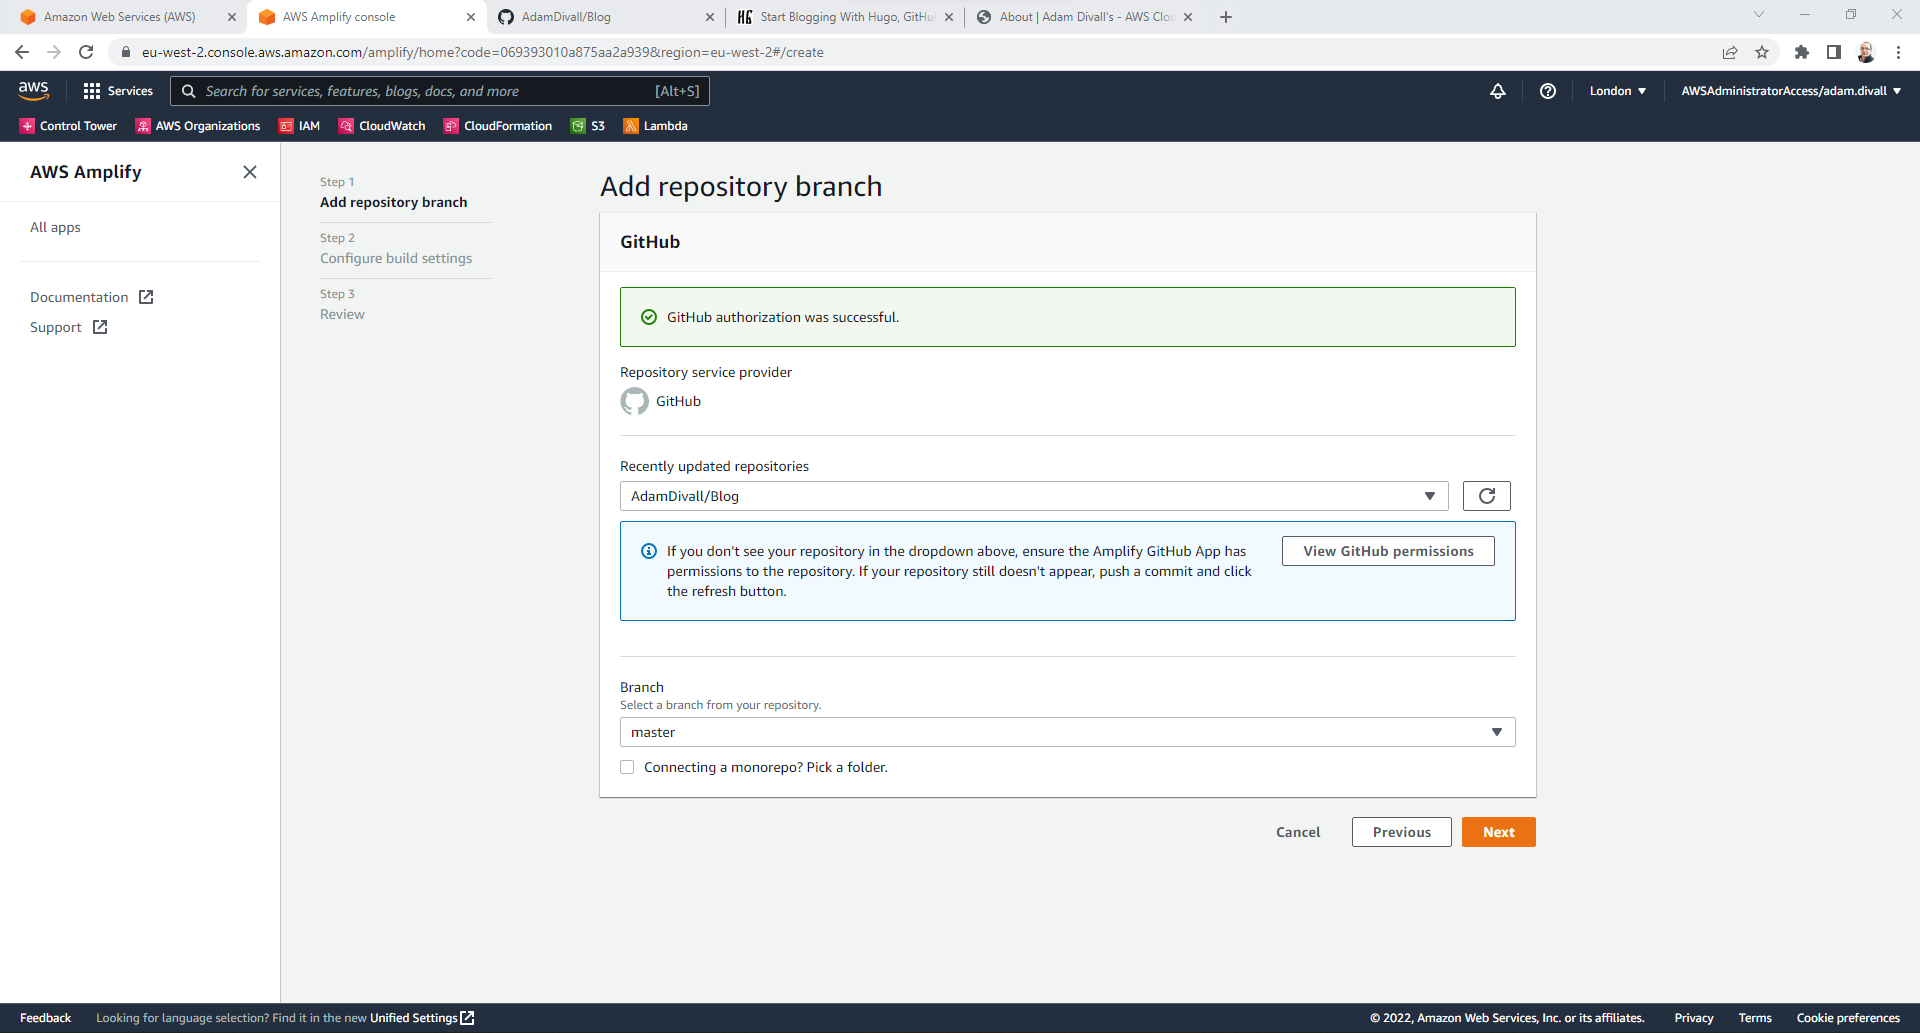
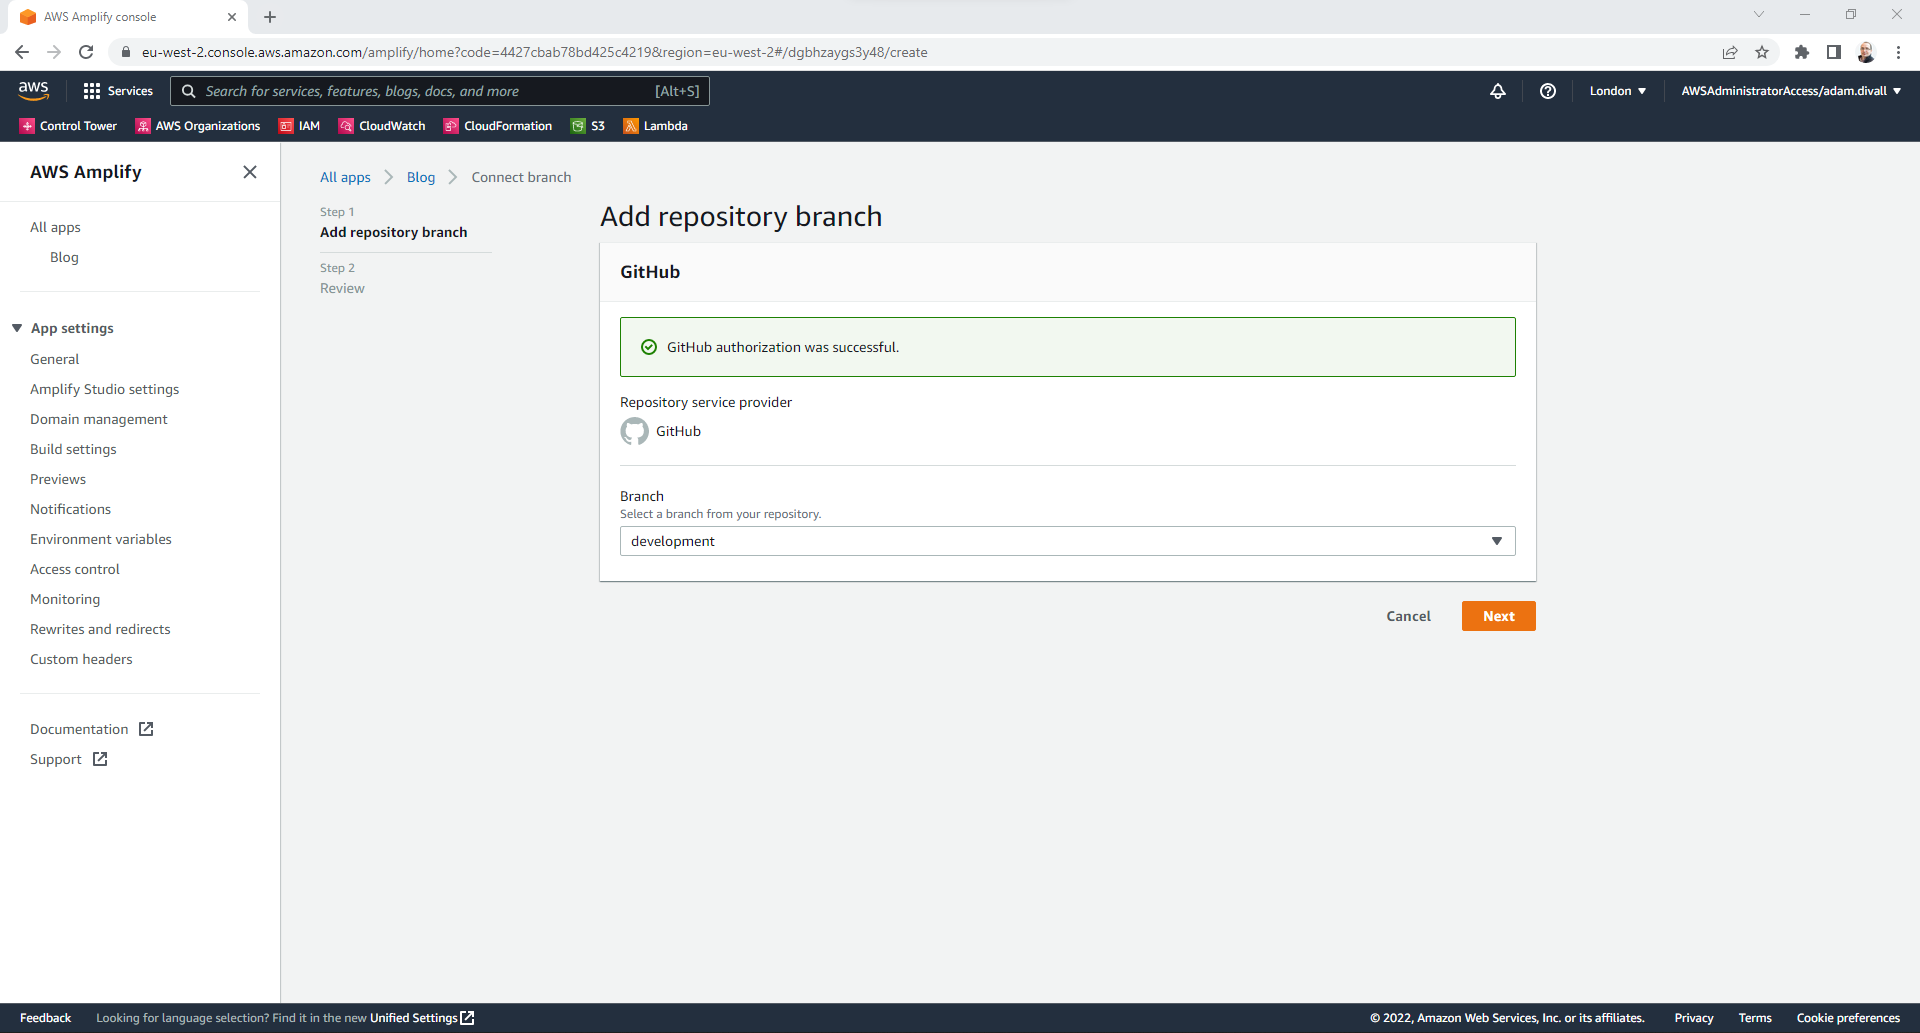
- On the Add repository branch page, Select the Repository of the Blog that we’ve previously committed to and Select the Branch master.
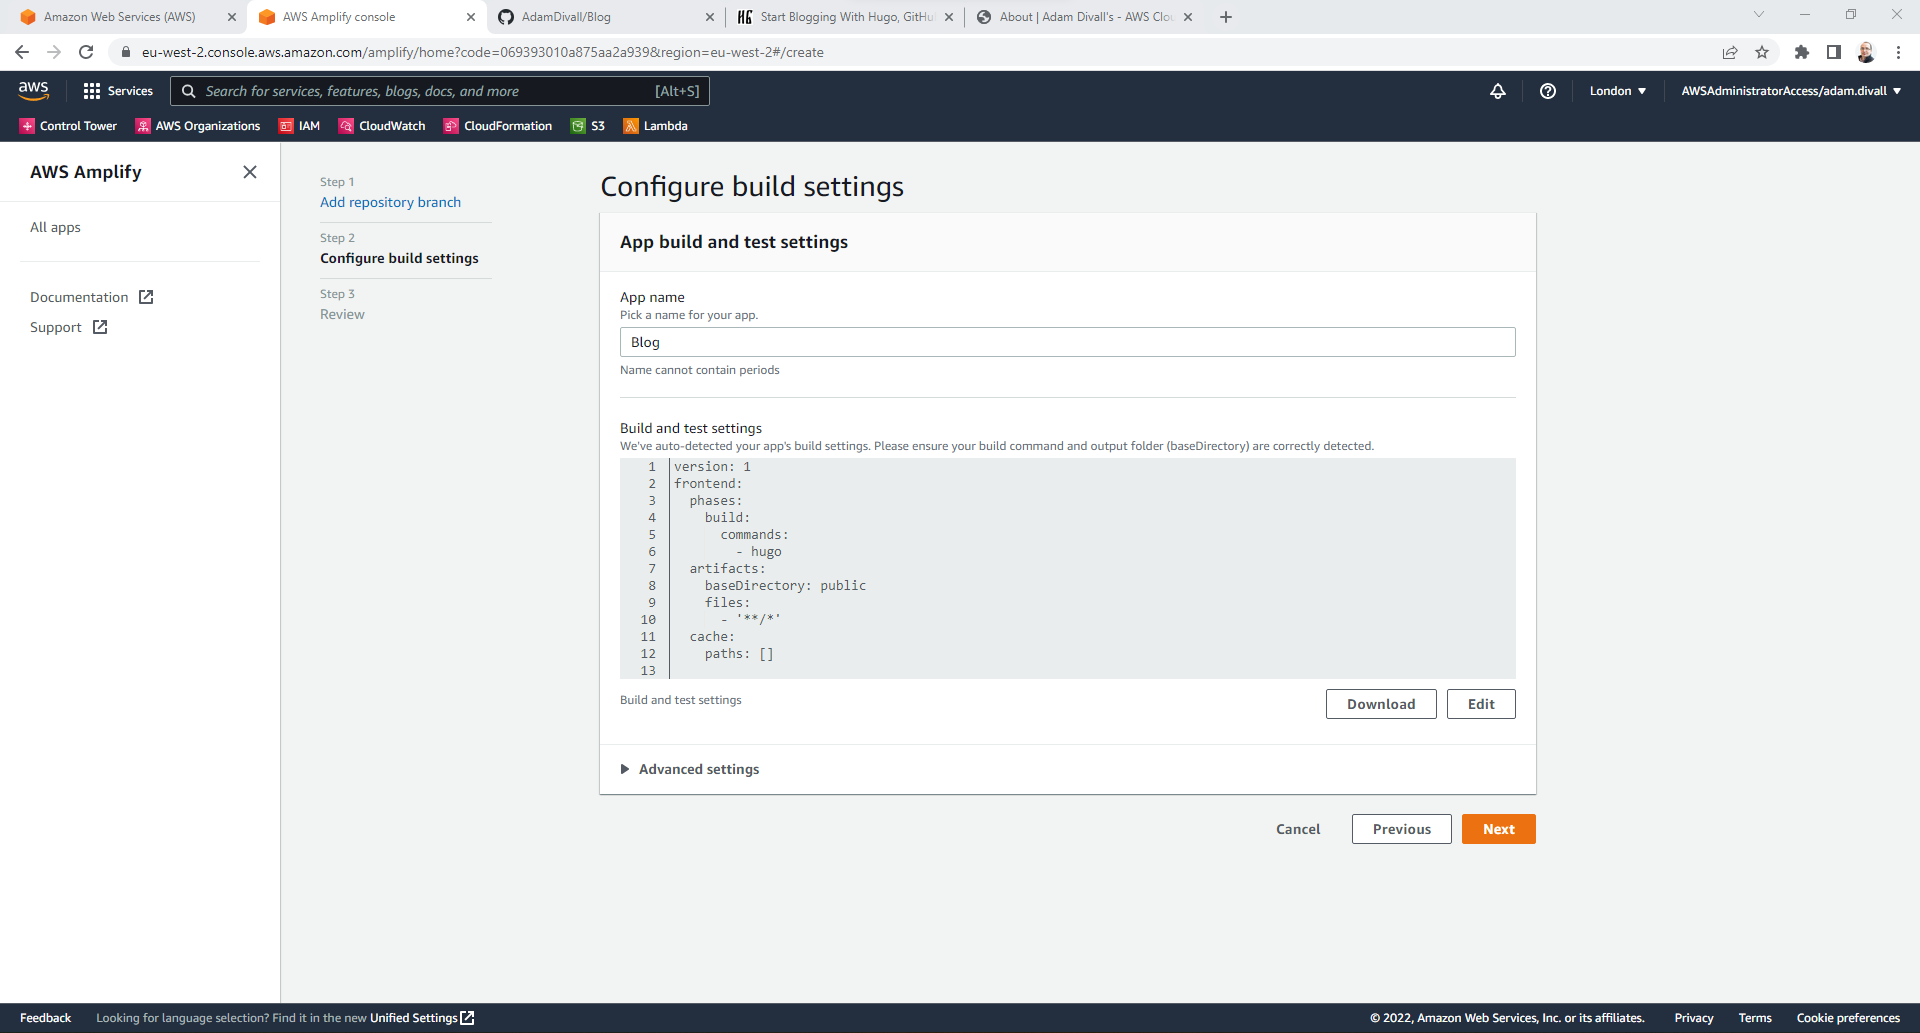
- On the Configure build settings page, Click Next.
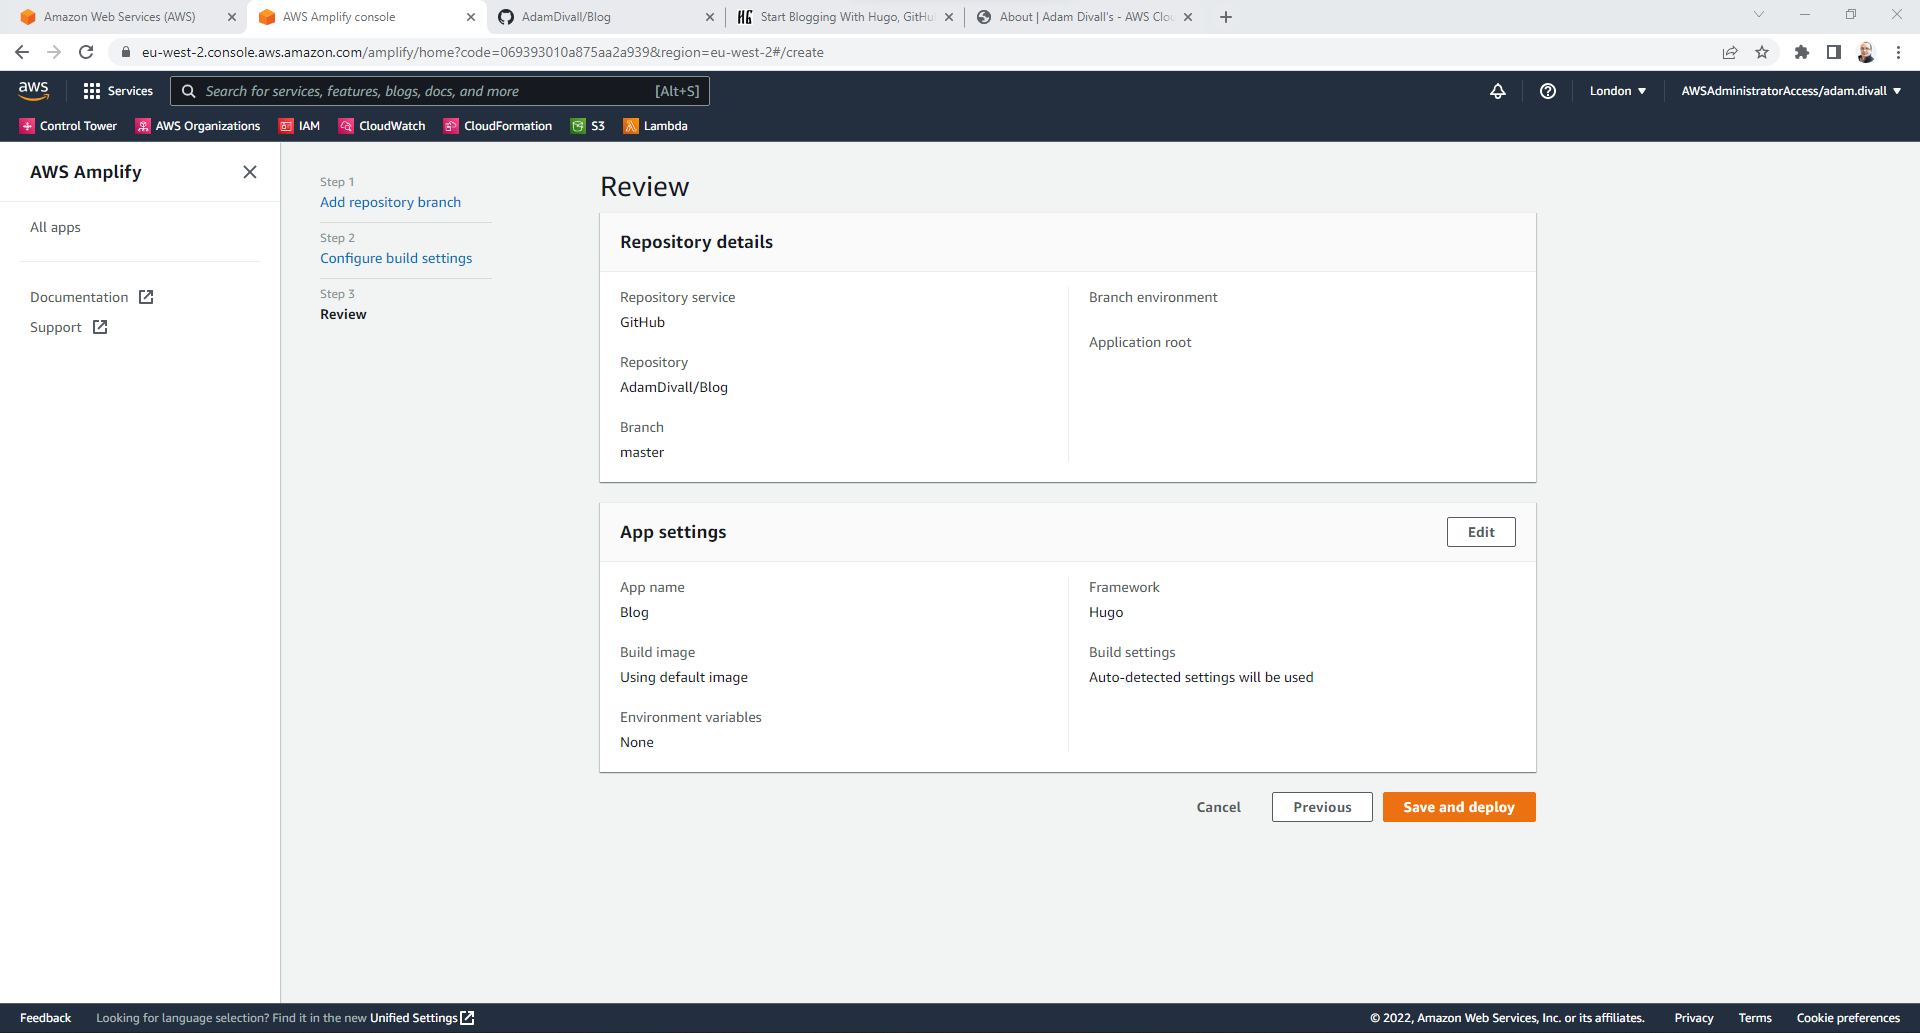
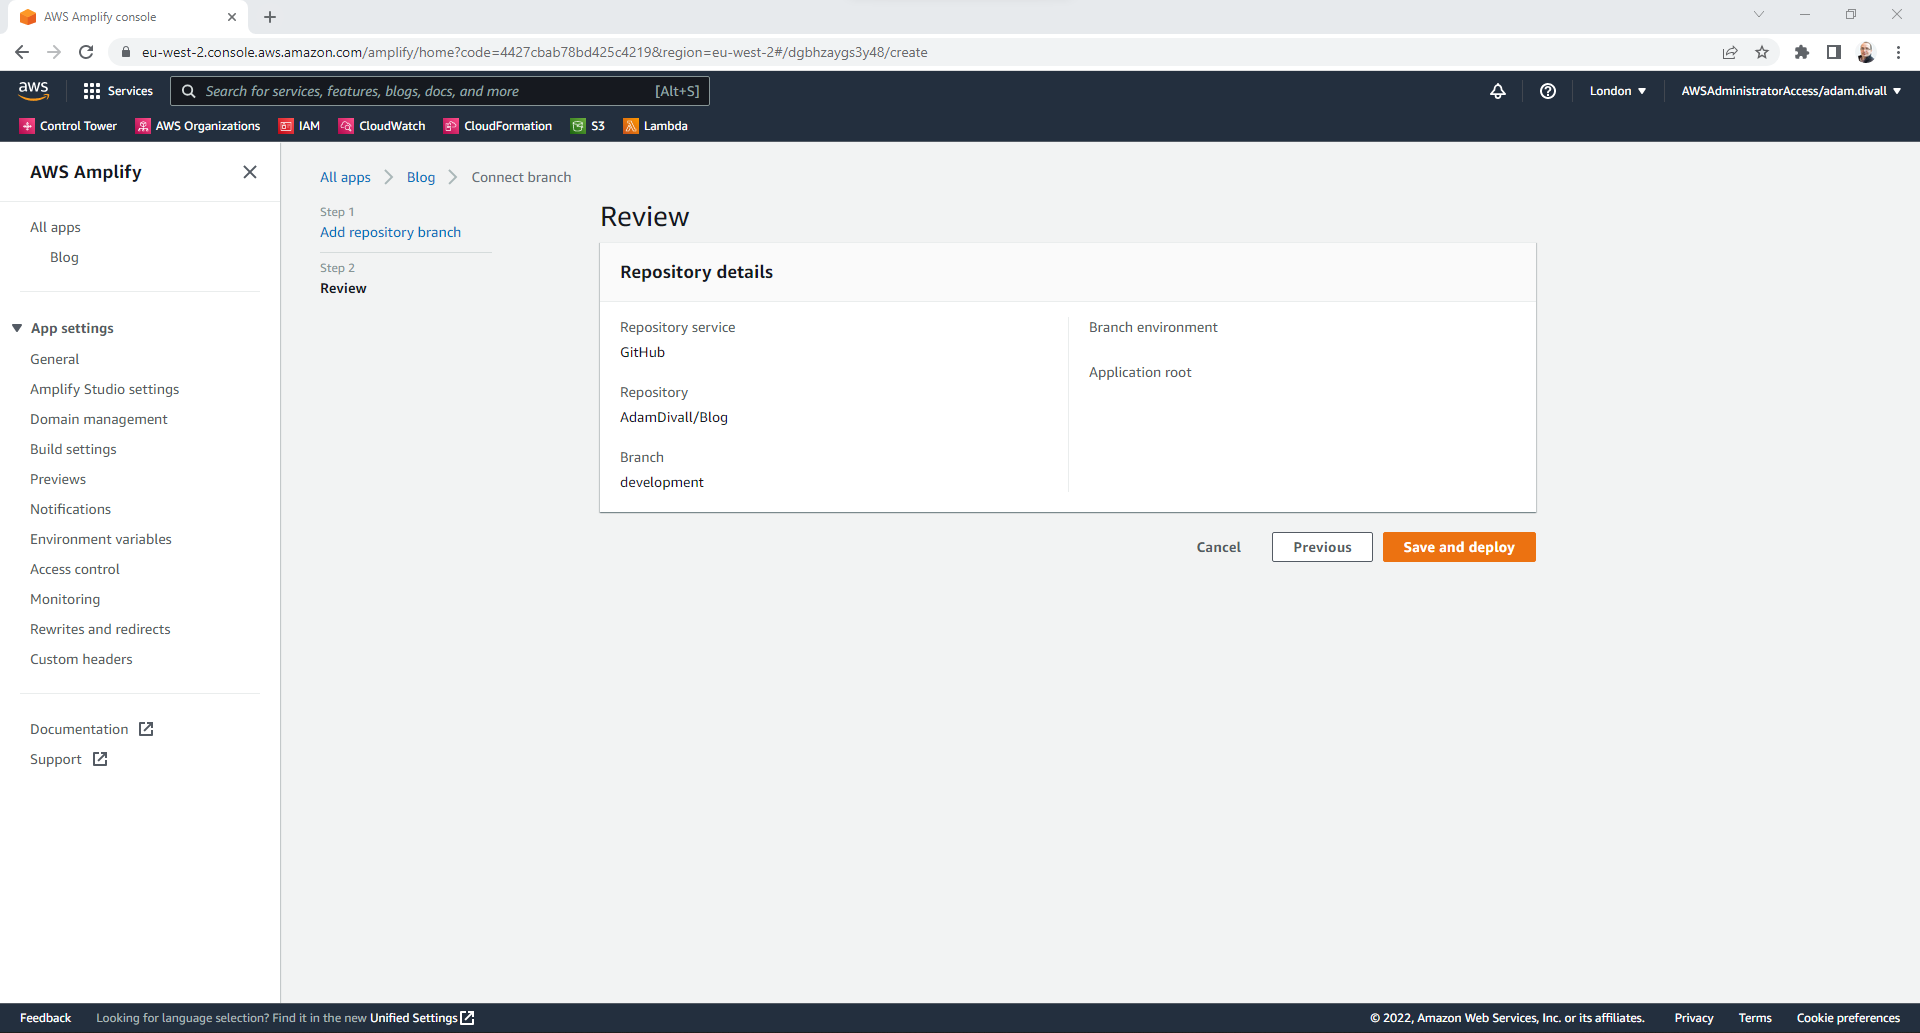
- On the Review page, Click Save and deploy.
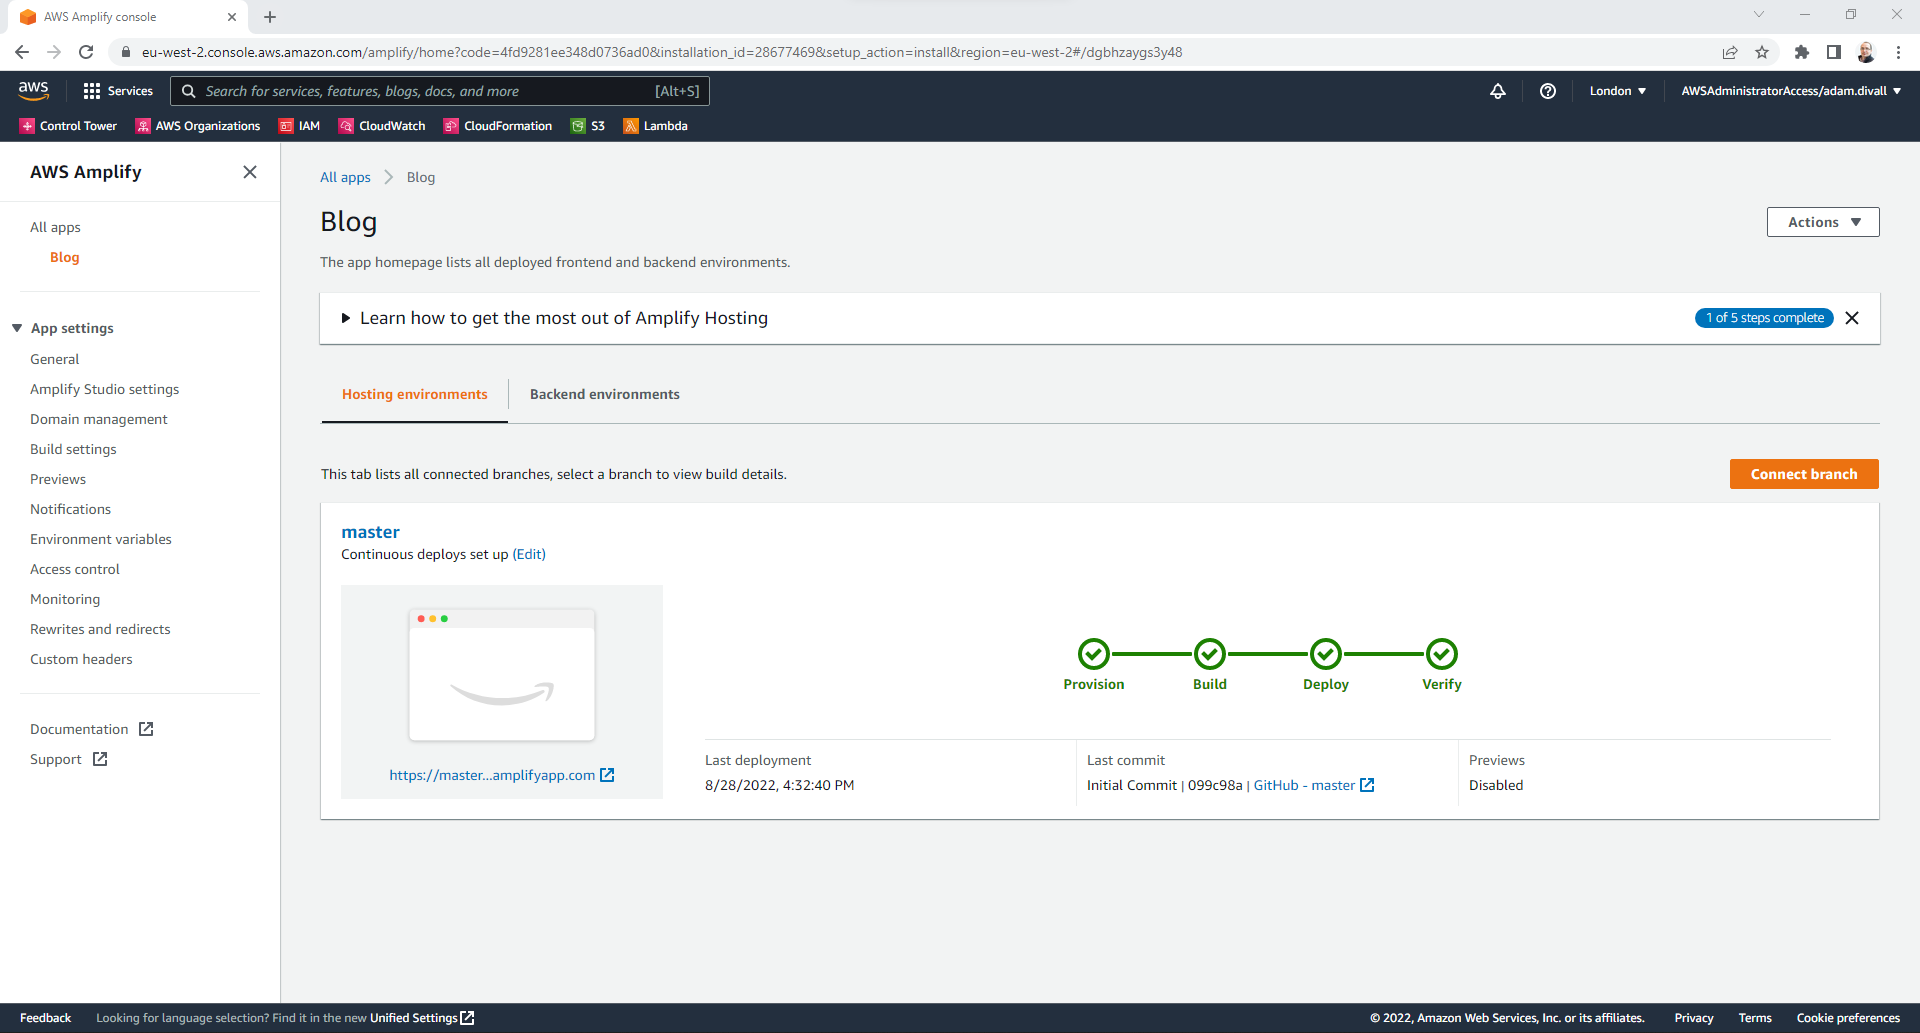
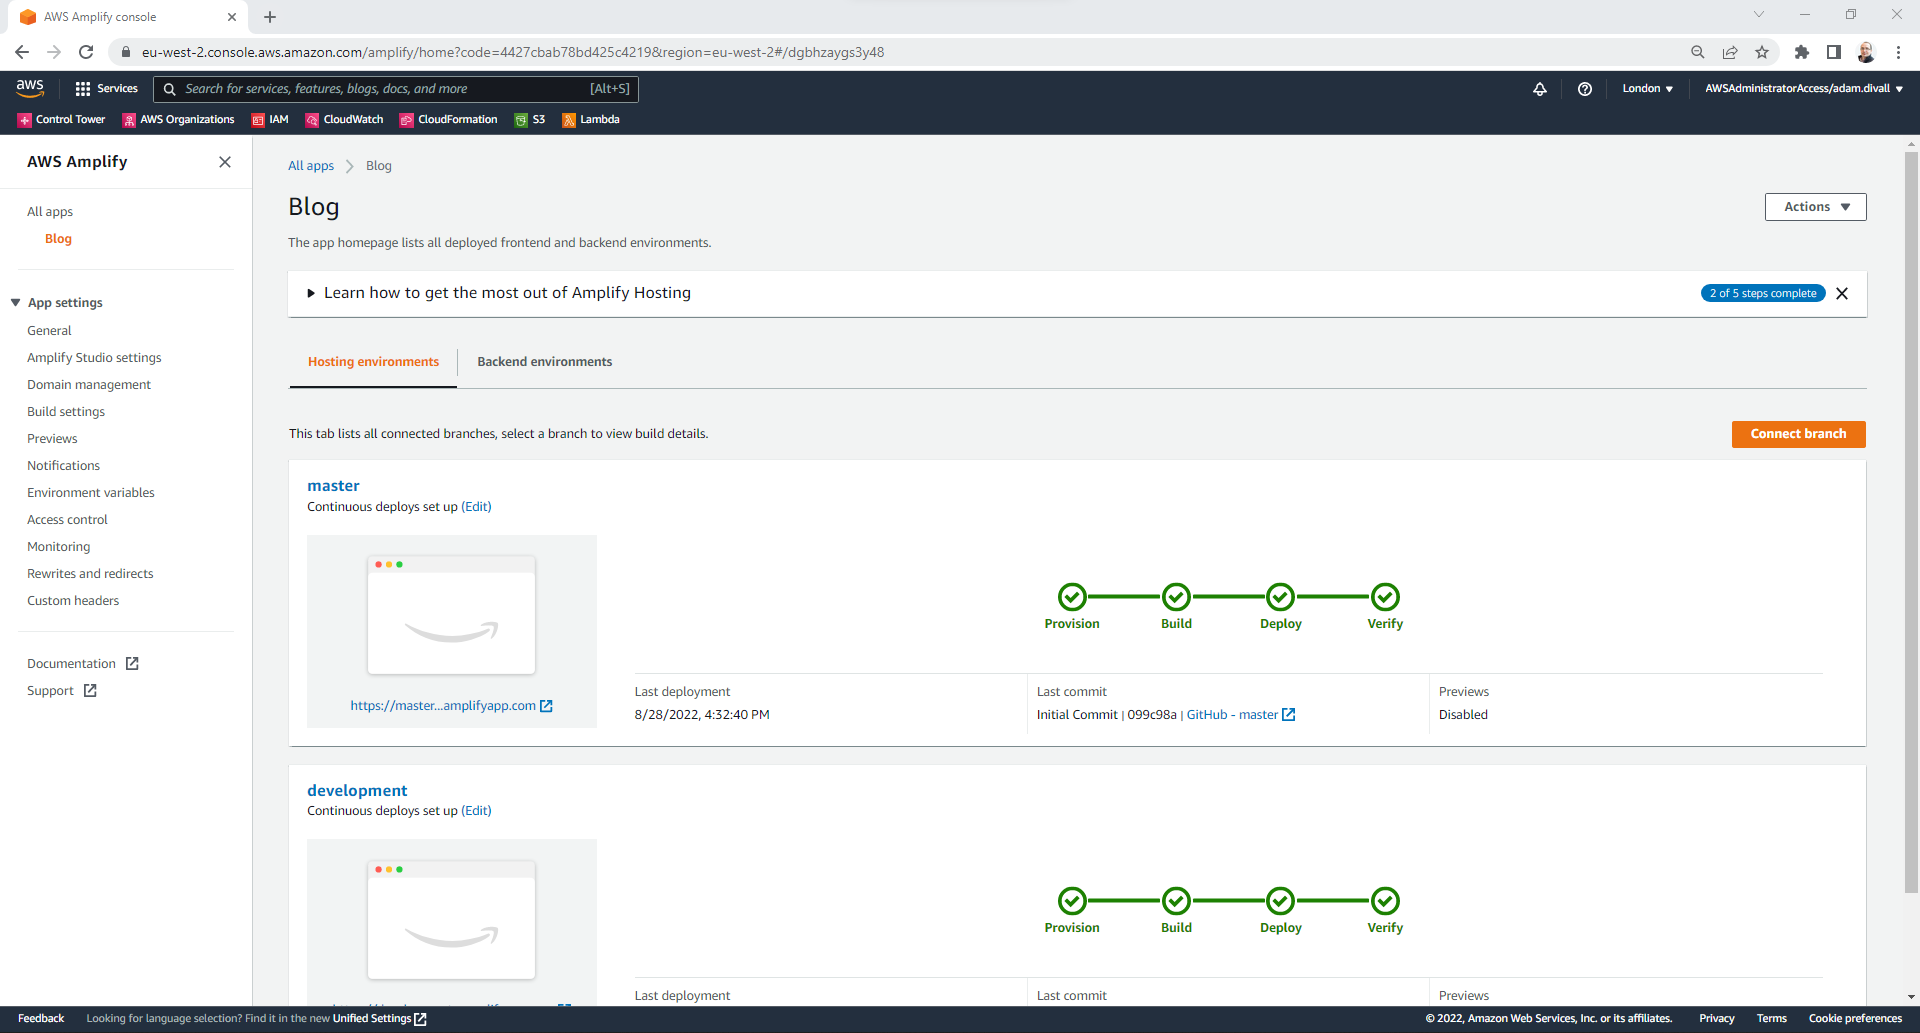
- AWS Amplify will now deploy the Site for the first time to the master environment and once complete it will look something like the screenshot below.
Before we can continue with any of the additional we need to create a new branch on our repository for staging changes before deploying them to production.
- From a Command Prompt or Powershell, Create an additional branch on our repository, Stage the Changes, Commit the Changes and Push to GitHub
git checkout -b development
git add *
git commit -m "Initial Commit to Development"
git push -u origin development
- Back in the AWS Console within the App Settings, Expand Learn how to get the most out of Amplify Hosting and Click Set up a test version of your site by connecting a feature branch.
- On the Add repository branch page, Select the Branch development and Click Next.
- On the Review page, Click Save and deploy.
- AWS Amplify will now deploy the Site for the first time to the dev environment and once complete it will look something like the screenshot below.
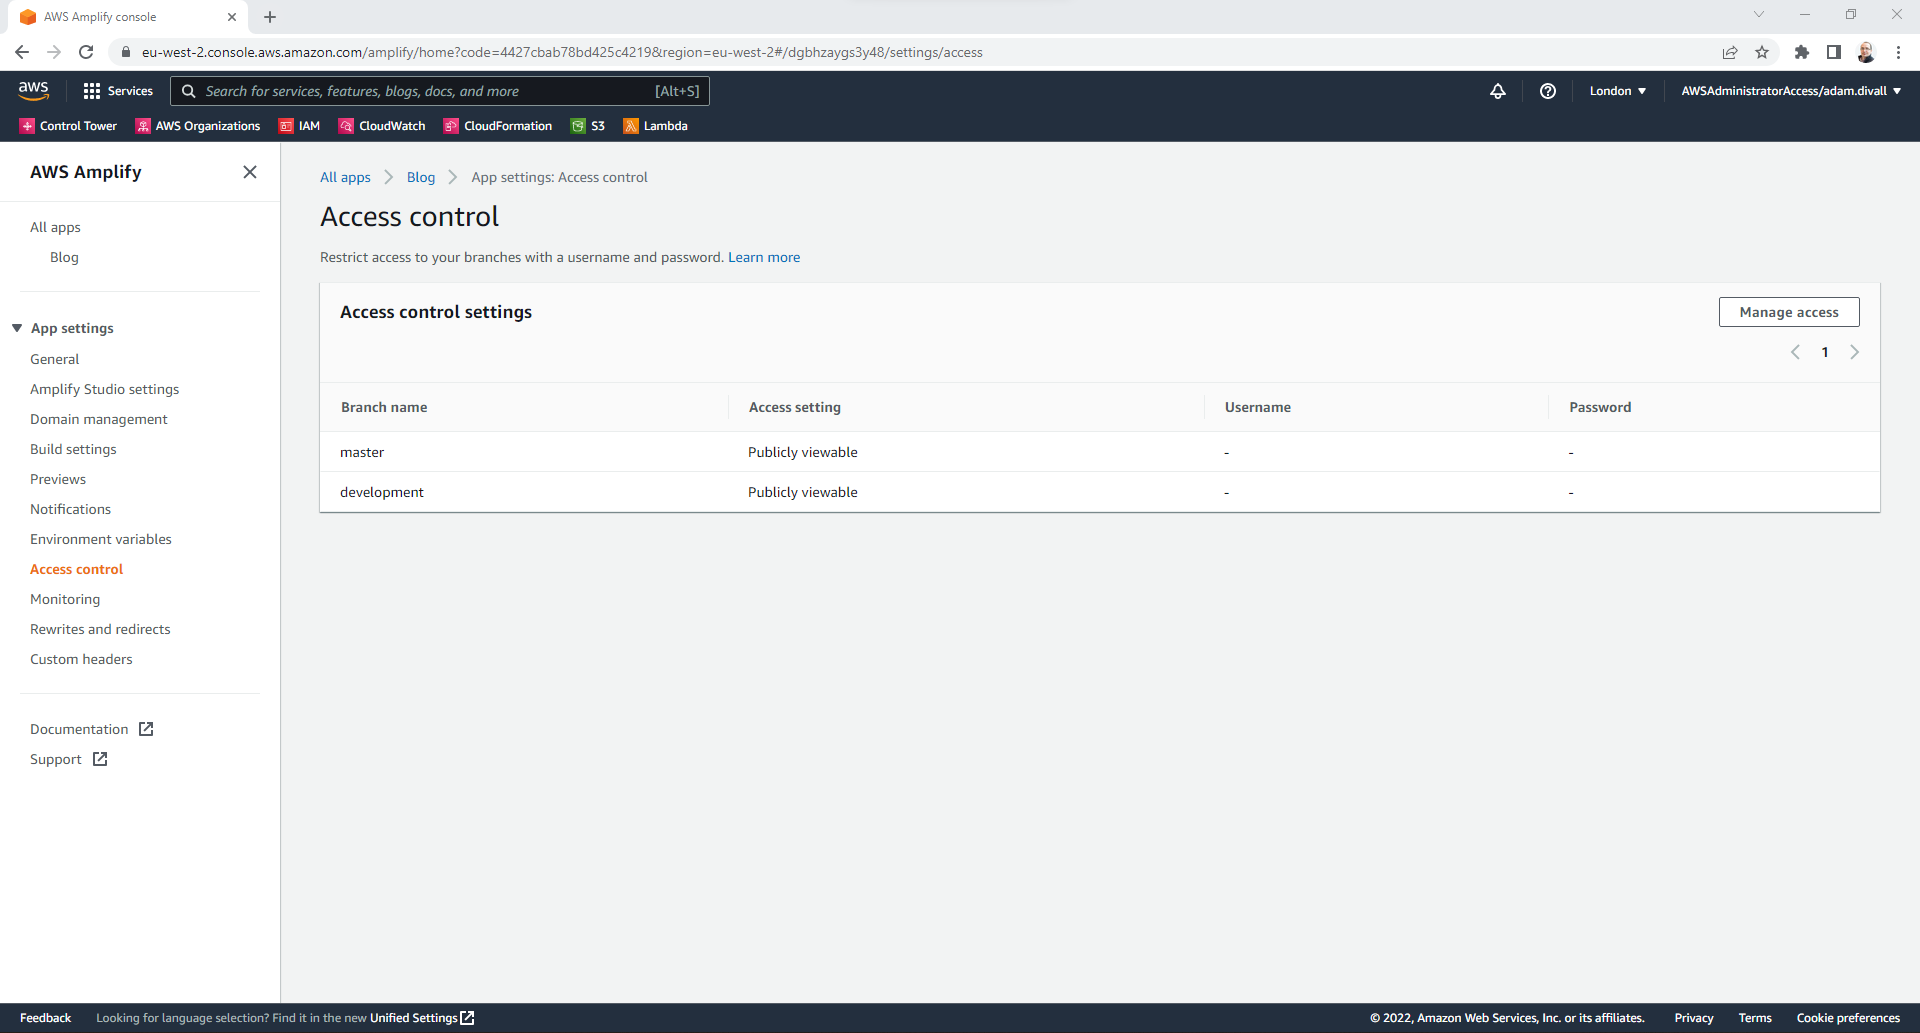
As both of these sites (master & dev) are both publically available, we may want to password protect the dev environment whilst we’re testing new features.
- Back in the AWS Console within the App Settings, Click Password-protect your site.
- Click Manage Access.
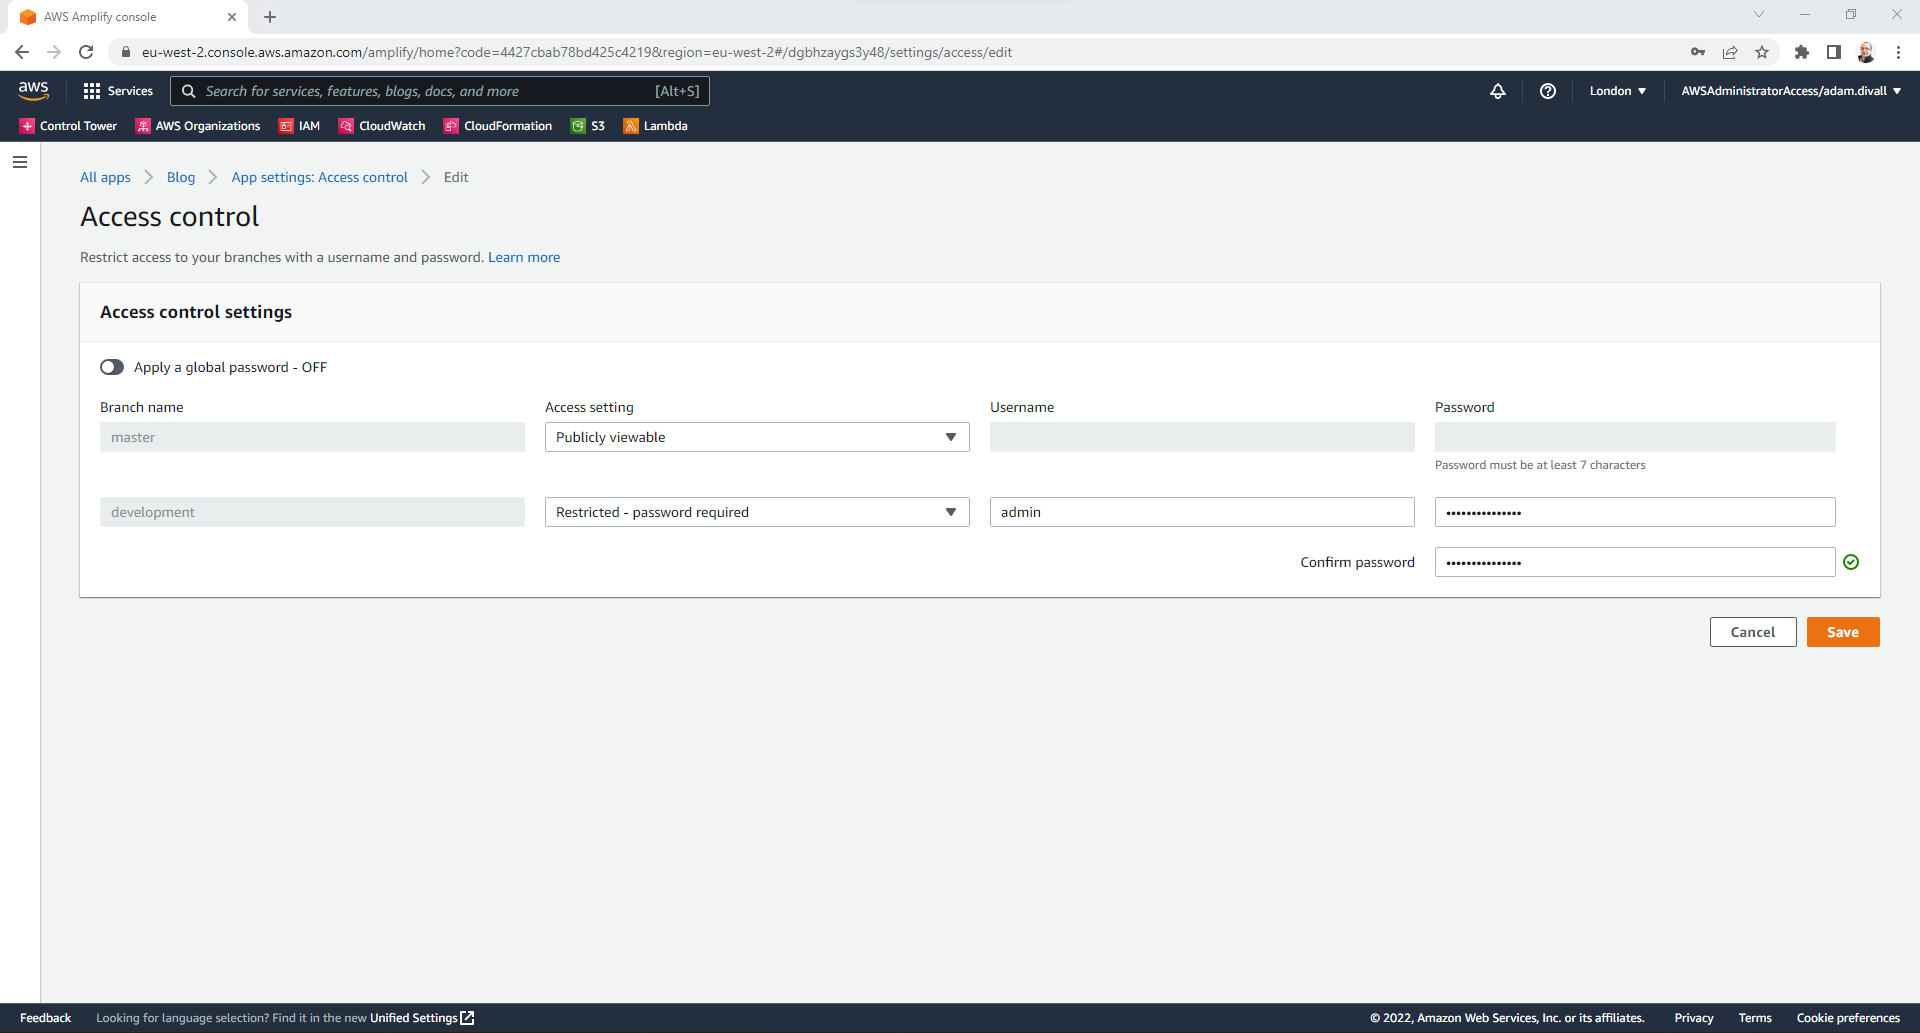
- Change the dev Access setting to Restricted - password required. Provide a Username and Password, then Confirm the Password. Click Save.
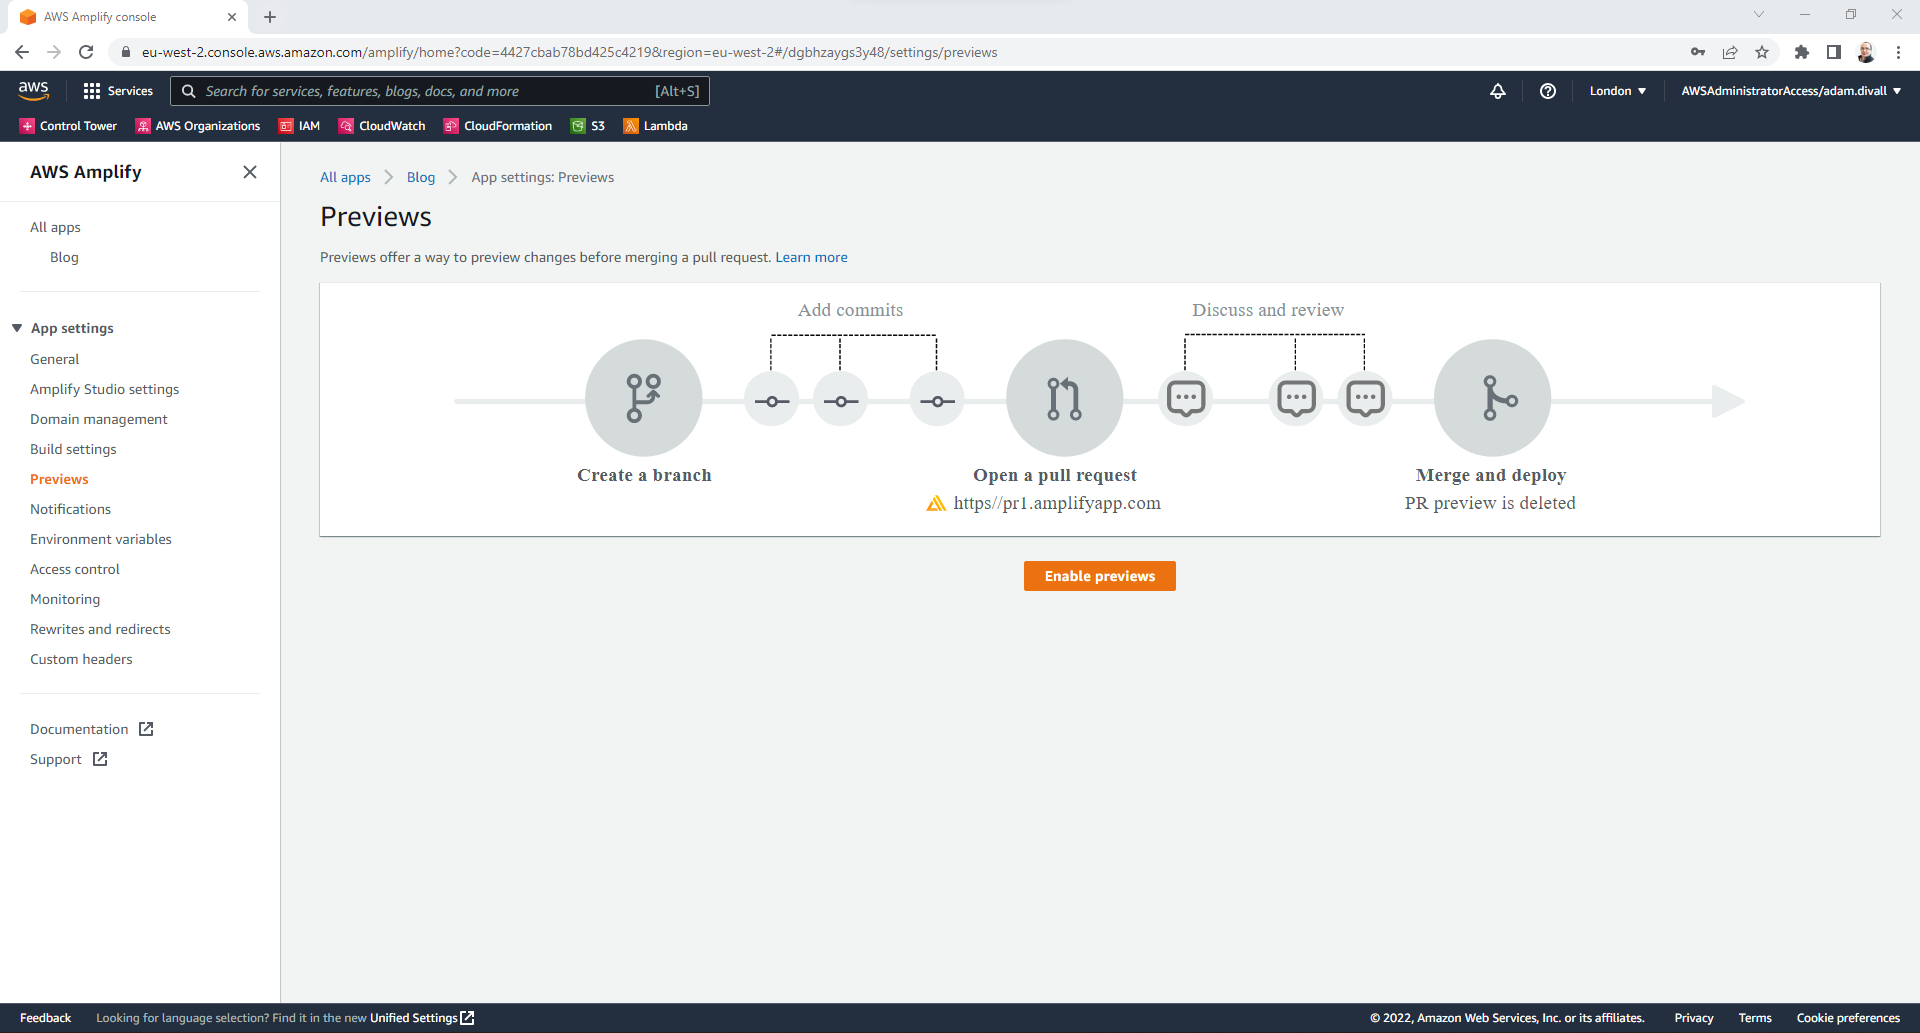
- Back in the AWS Console within the App Settings, Click Enable pull request previews.
- Click Enable previews.
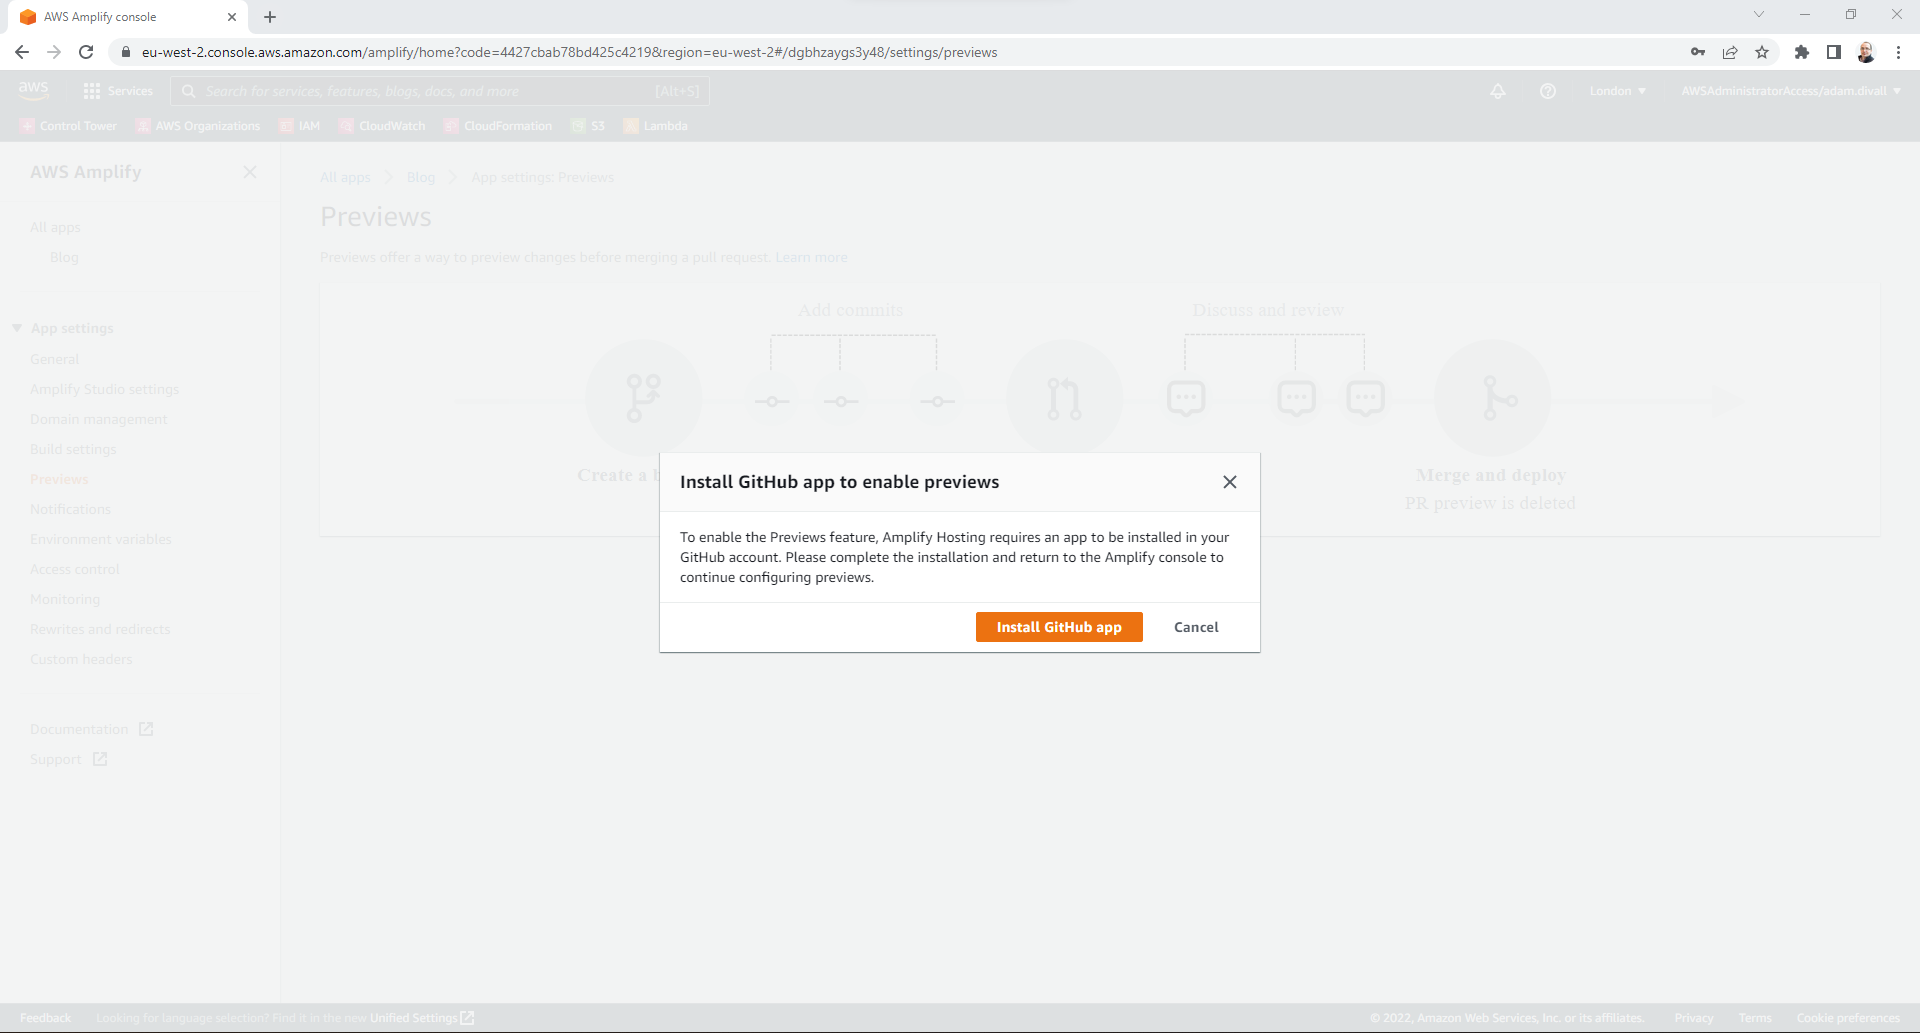
- Click Install GitHub app. Under Repository Access, Select only selected repositories, Choose the Repository that was created earlier and then Click Save. Close the GitHub tab that is opened.
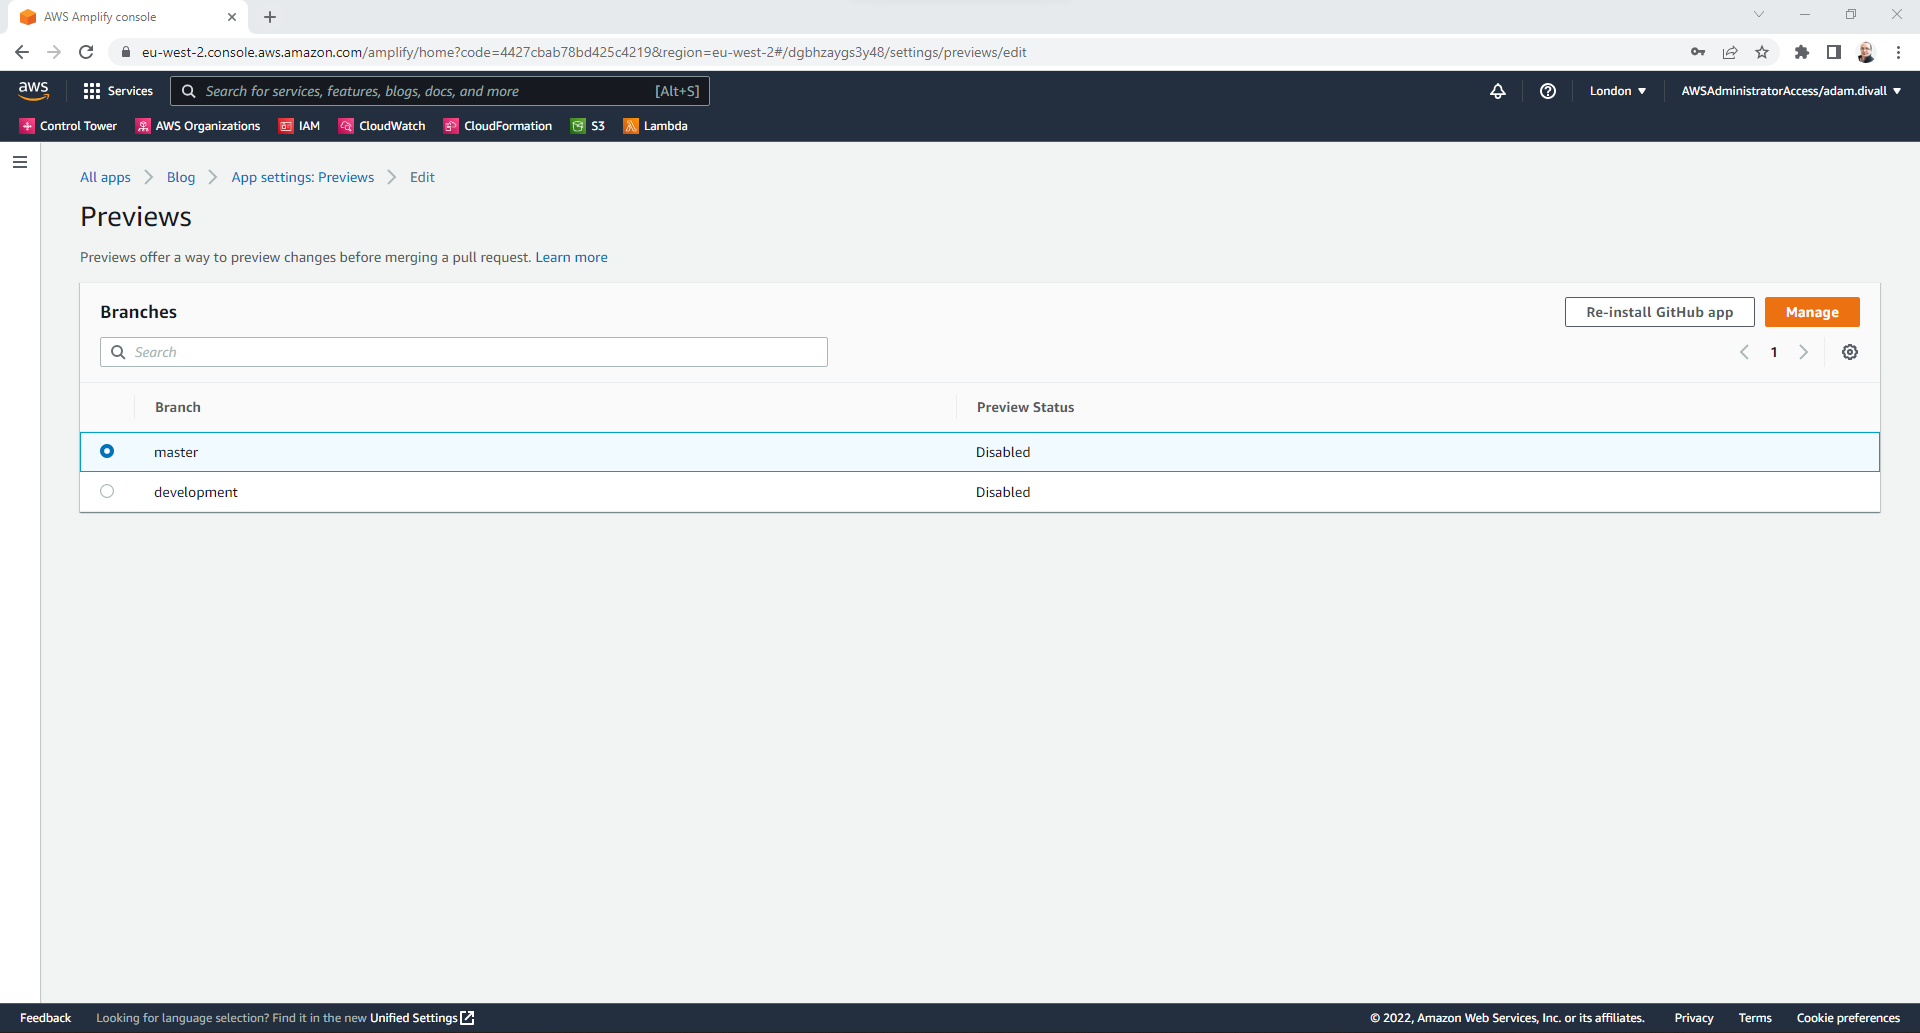
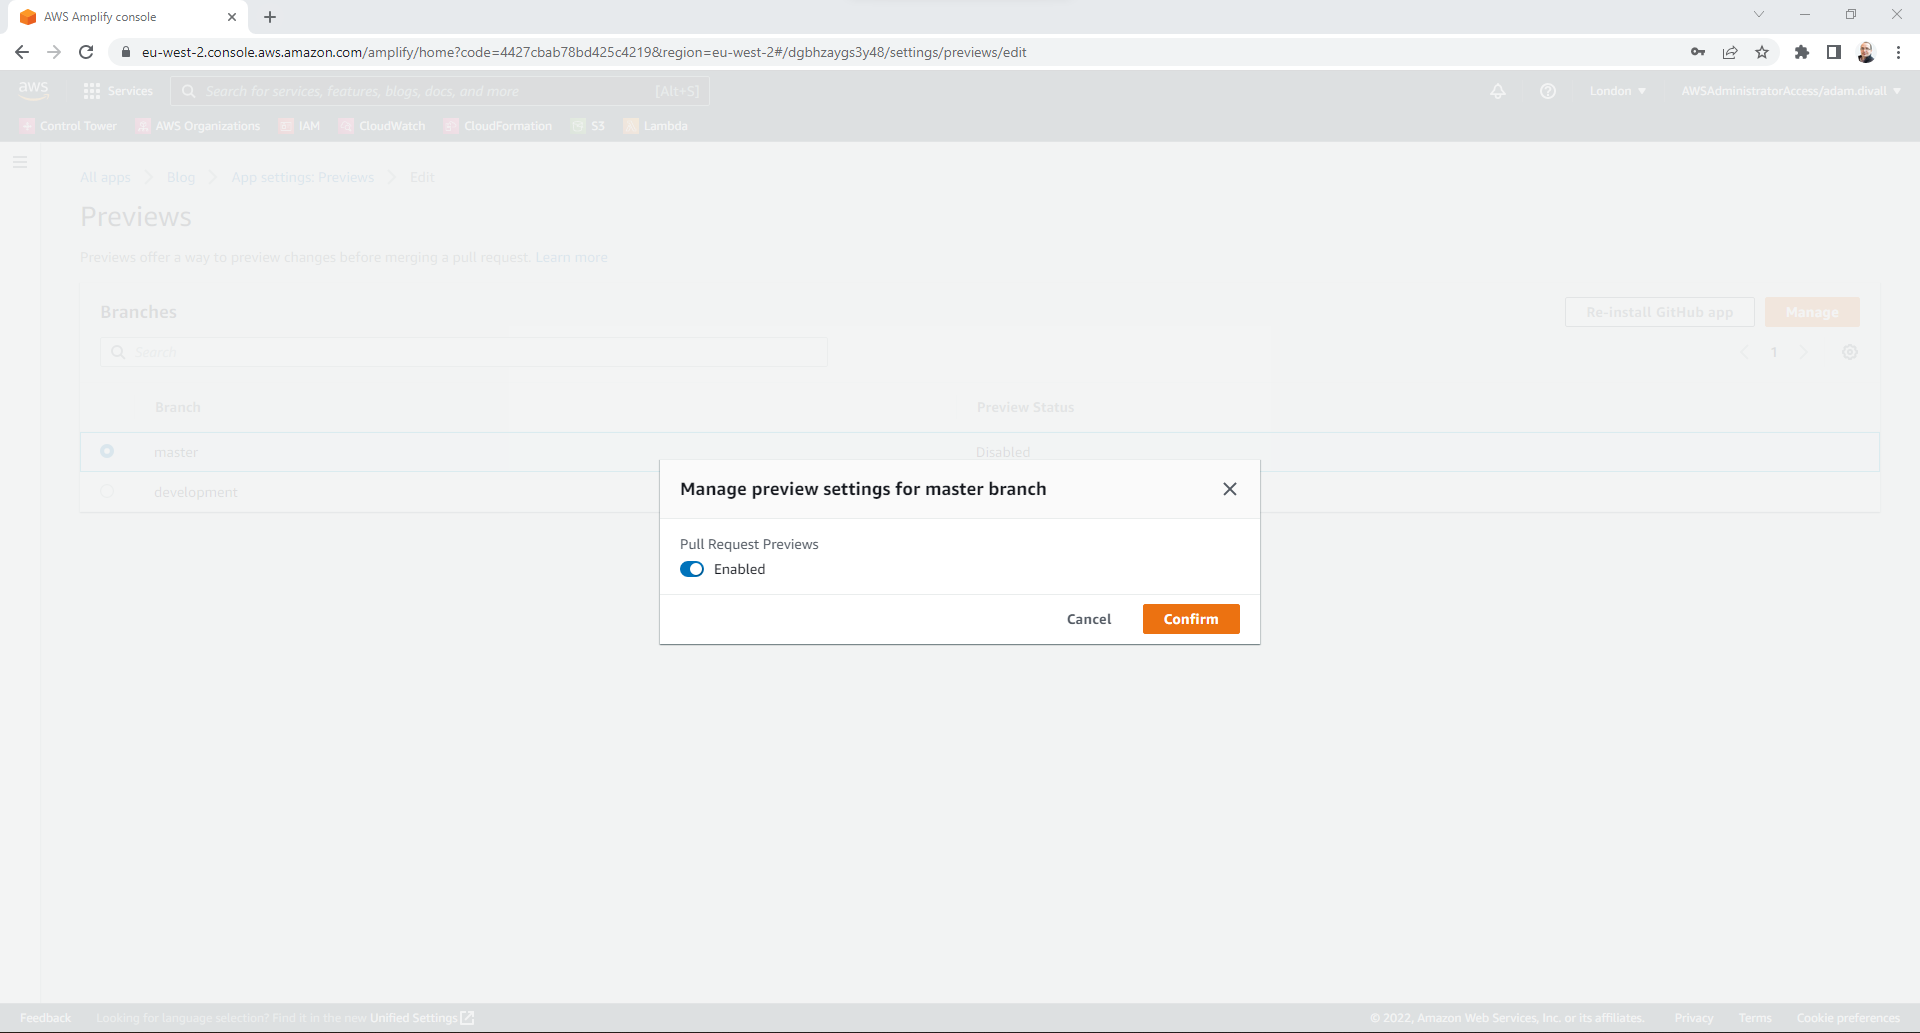
- On the Previews page, Select the master environment and Click Manage.
- On the Manage preview settings for master branch page, Enable Pull Request Previews and Click Confirm.
When we now make commits to our dev branch on GitHub, we can now create Pull Requests (PR) from within GitHub and AWS Amplify will run some checks against the PR prior to it being manually approved for merging into the master branch.
Before completing the next steps you must have a domain registered. In this case I had already registered a Domain in Amazon Route 53 and Created a Hosted Zone.
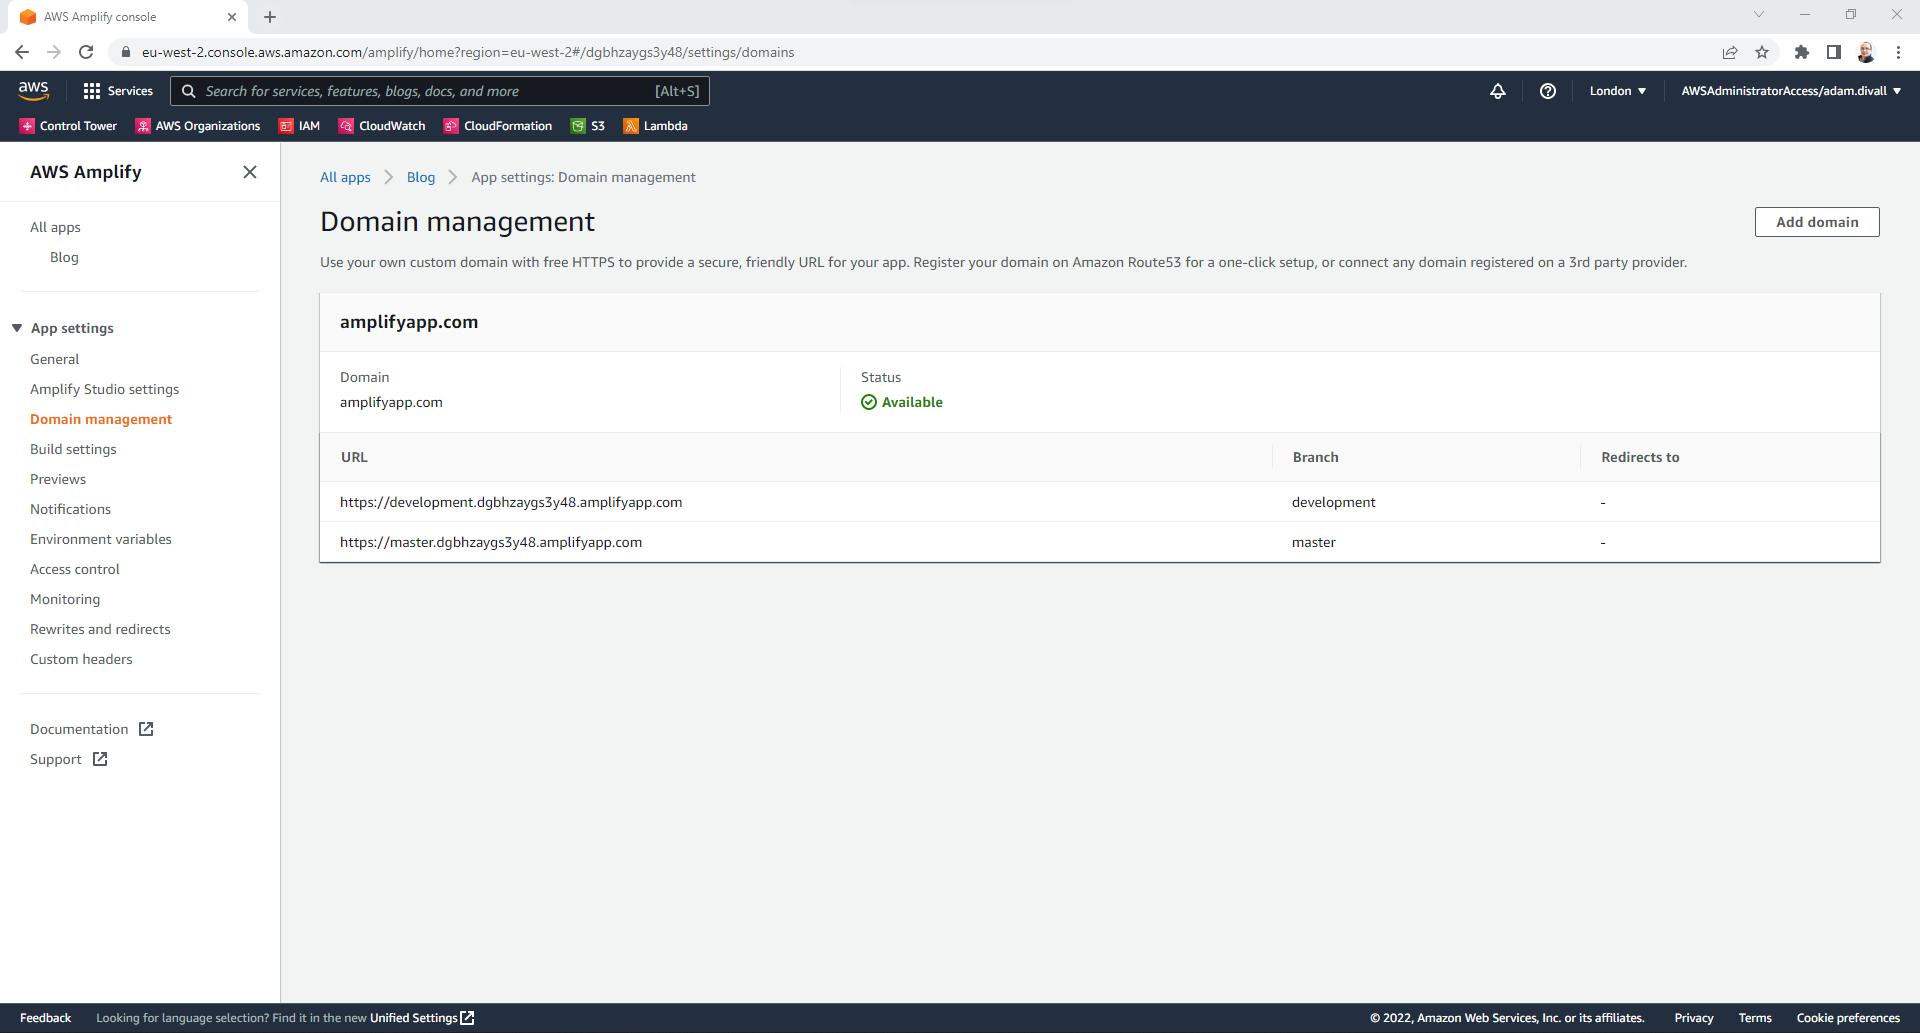
- Back in the AWS Console within the App Settings, Click Add a custom domain with a free SSL certificate.
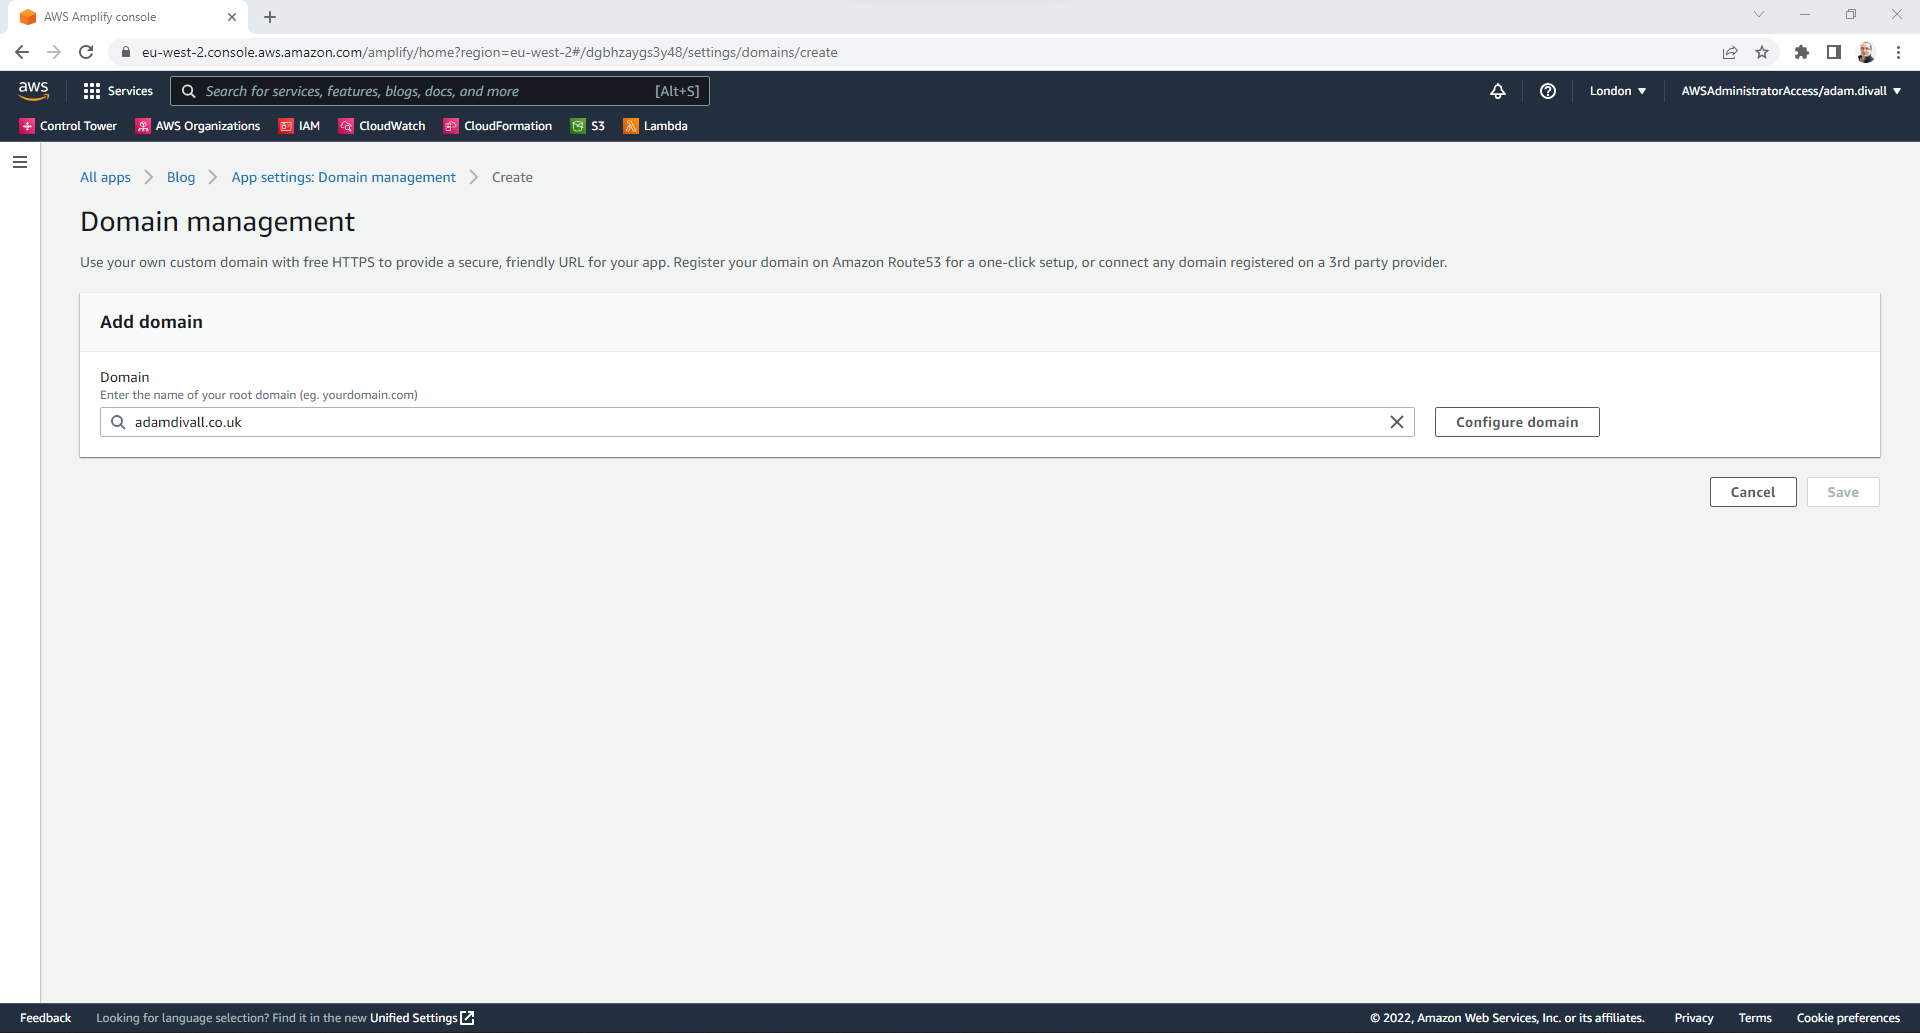
- Click Add domain.
- On the Domain management page, Select your registered Domain Name and then Click Configure domain.
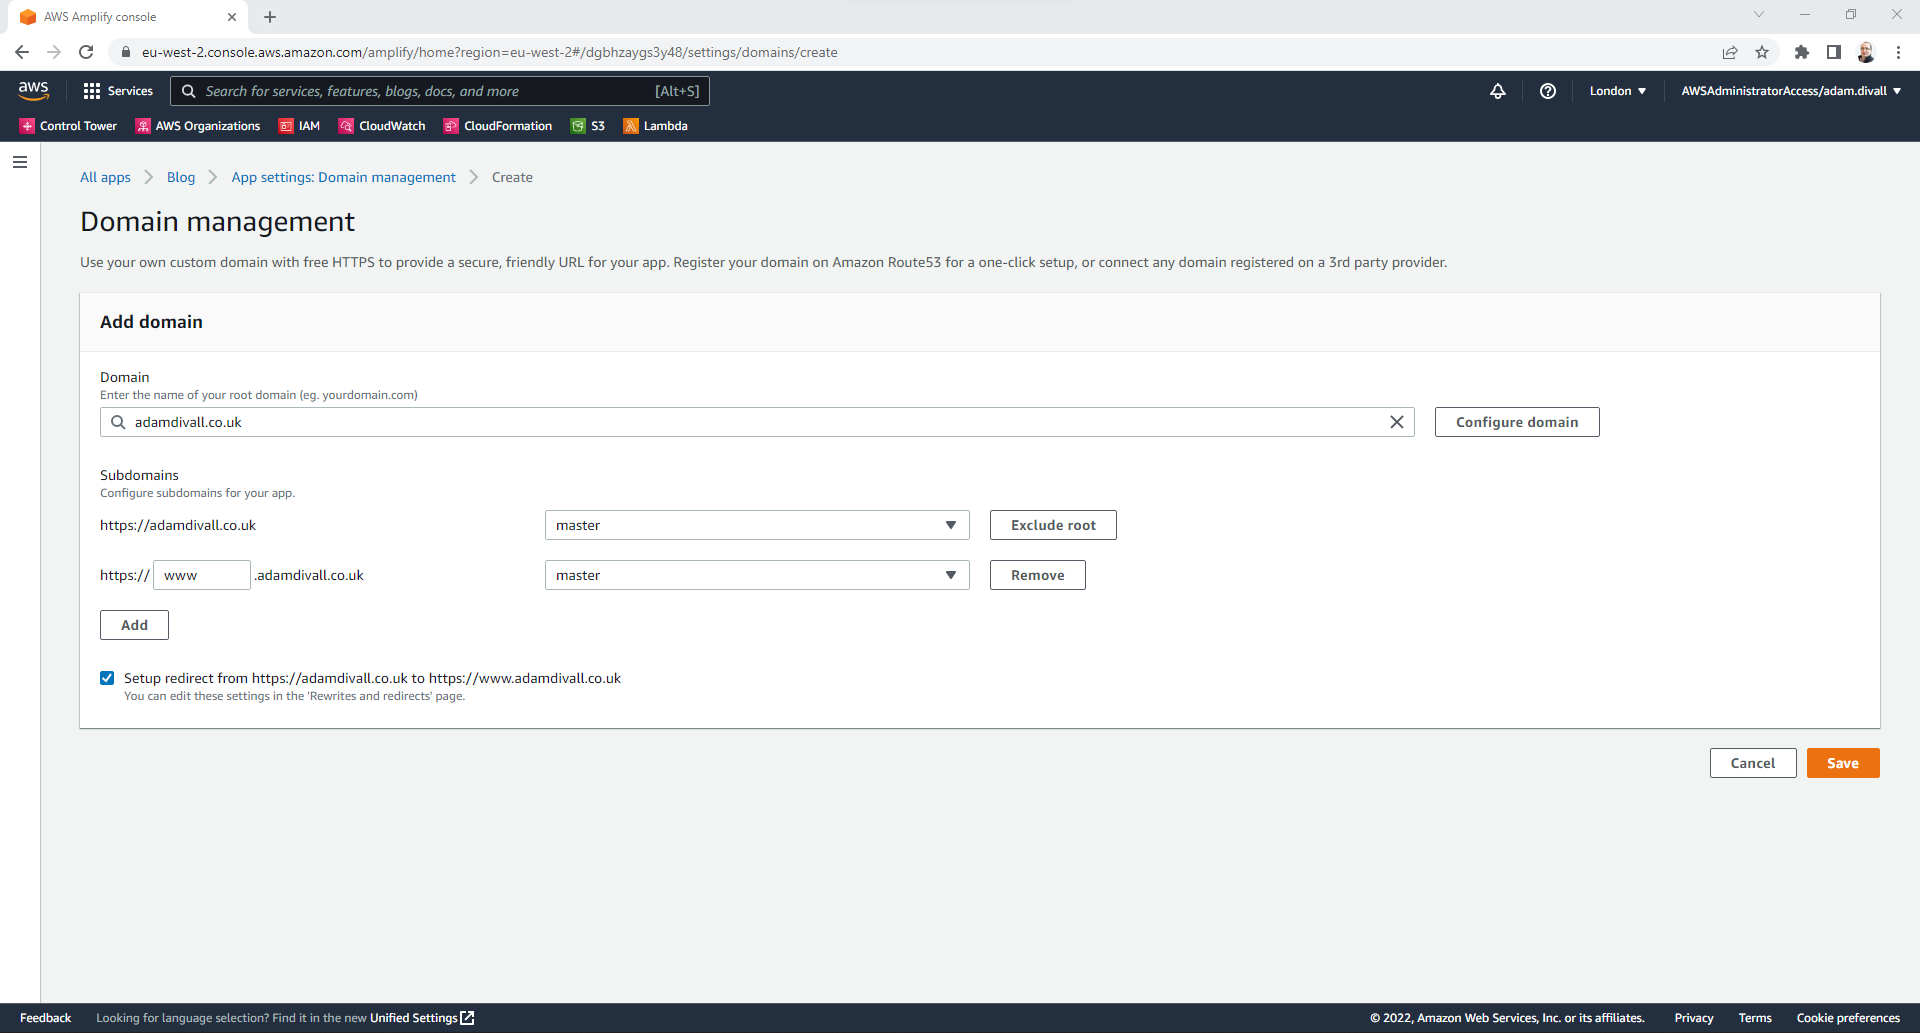
- On the Domain management page, Add the Subdomains as per your requirements and Click Save.
AWS Amplify will then create some DNS Records (A & CNAME) within the Hosted Zone in Amazon Route 53, Register an SSL/TLS Certificate in AWS Certificate Manager and also Create and Configure an Amazon CloudFront Distribution.
Happy Blogging!

